
How to mass produce Plaster Terrain for Tournaments
For the Bay Area Open Tournaments this year I tasked myself with making a whole bunch of terrain for the Warmachine tournaments. I needed to make about 60 pieces in total: some for the tables, some for end of round giveaways, and some for prizes. So needless to say I needed to make a bunch of them quickly without costing too much either.
So here is a quick tutorial on how I went about it.
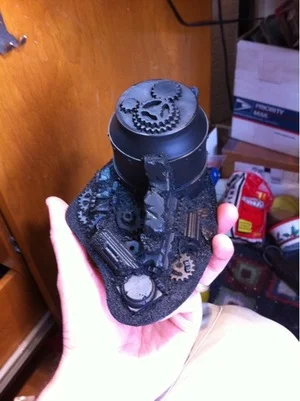
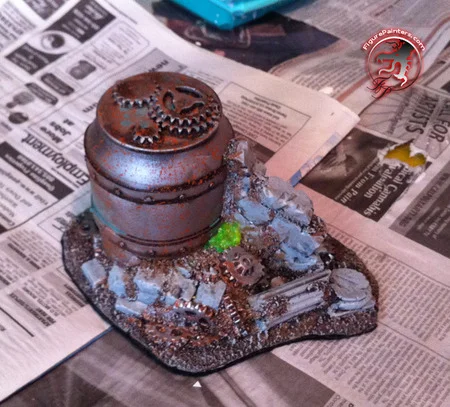
I started out with a custom piece of terrain that I wanted to make a bunch of. :)
First up was to give it a few coats of primer to seal in the gravel and any loose pieces.

I don't have pictures for the next few parts, but I can at least describe them.
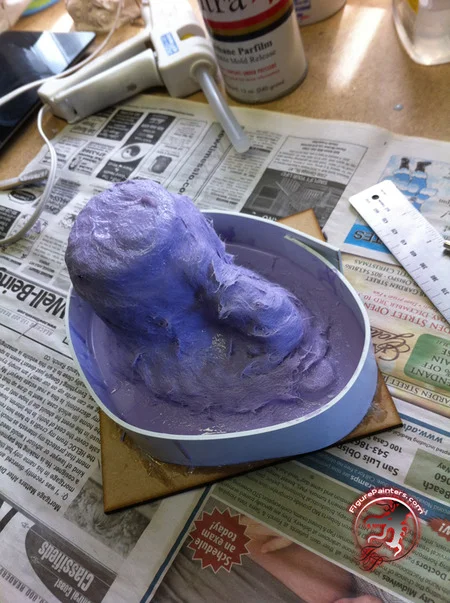
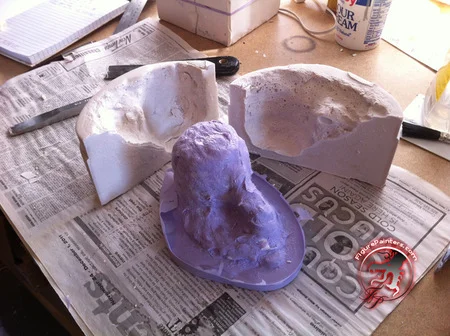
First off I glued it down to some hard board and built a dam around it so that I could build the skin up for the mold.
The mold was built up with a few layers of silicon mold rubber. The first layer was brushed on so it would get into all the cracks. The next two layers were built up with fiber mixed into the mold material to strengthen it. This allows me to keep the mold small and cheap. So after a few layers of build up this is what it looks like:
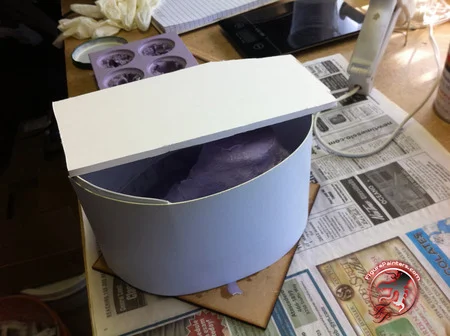
After everything was dry I wrapped it with another dam of plastic card and glued a piece of foam core on top. This is so I can lay it on its side and fill up half the dam with plaster.
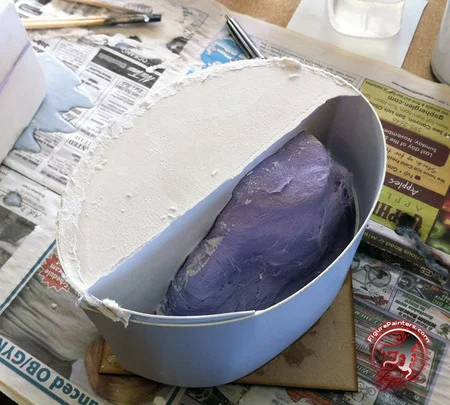
Once one side was dry, I broke off the foam core top and filled up the rest with plaster.
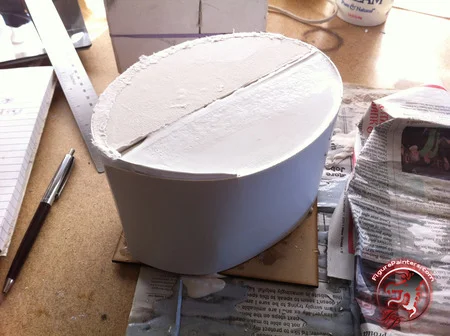
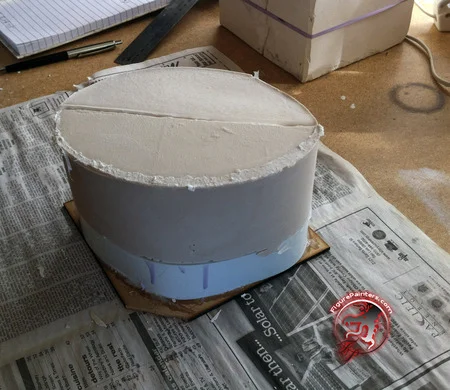
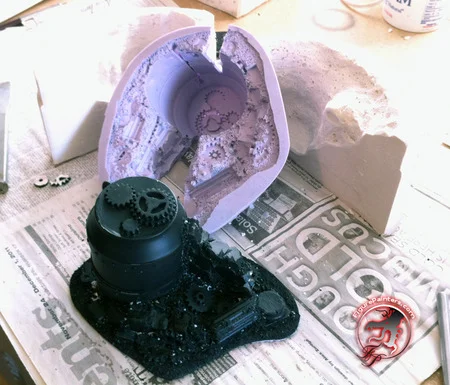
After that was all dry I broke off the dams, popped it off the base I had glued it too, and split the boot apart. Since it was poured in two parts, a little chisel tap to the seam and it popped right apart.
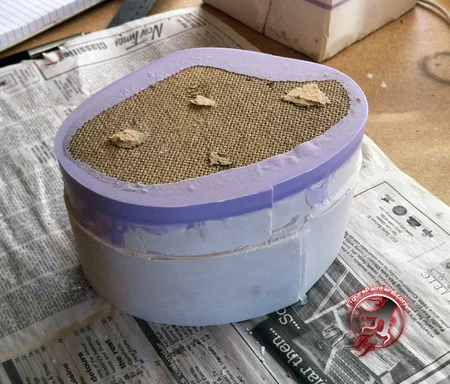
I then used a razor and sliced up both sides of the mold so I can get the terrain piece out. As you can see some of the pieces came off with it. :)
To make more, I put the boot back together and popped the mold back into it.
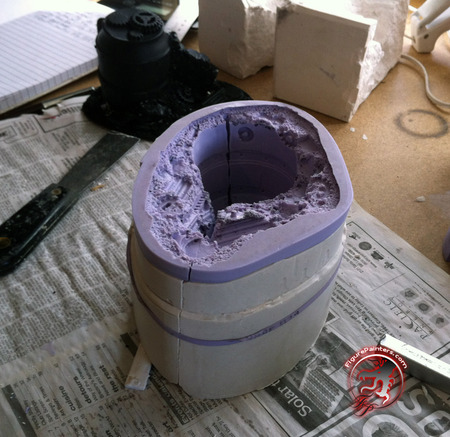
I mixed up some more plaster, poured it in and once it was dry de-molded it. This is what I ended up with.
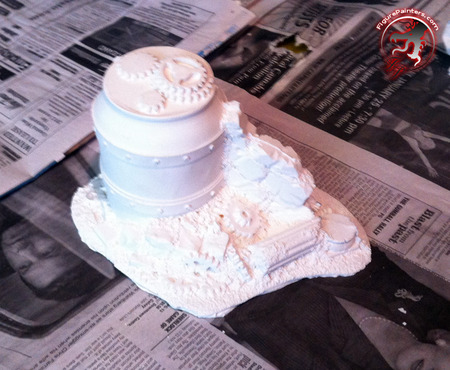
And with a little clean-up and a little paint this is how it looked. :)
Hopefully this gives you an idea for how it would be possible to make a lot of terrain quickly for tournaments. If you have any questions feel free to ask.