
Making an Convergence themed finals table for Las Vegas Open
I am working on the finals table for this years Las Vegas Open.
With the help of Archi of http://tectoniccraftstudios.com/ with the laser cutting I thought I could make a cool Convergence themed board. And I just have just a few weeks to get it all done!
Shameless plug for LVO too. https://www.frontlinegaming.org/las-...achine-events/
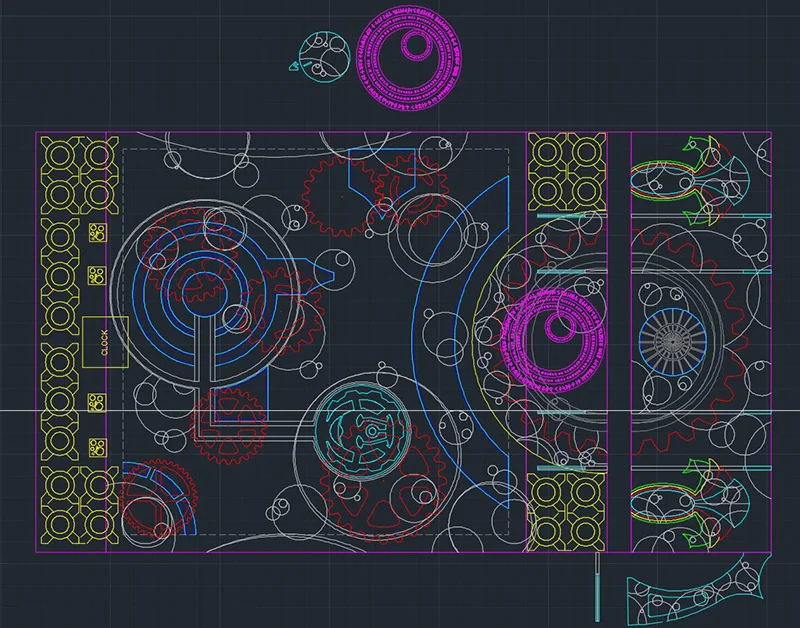
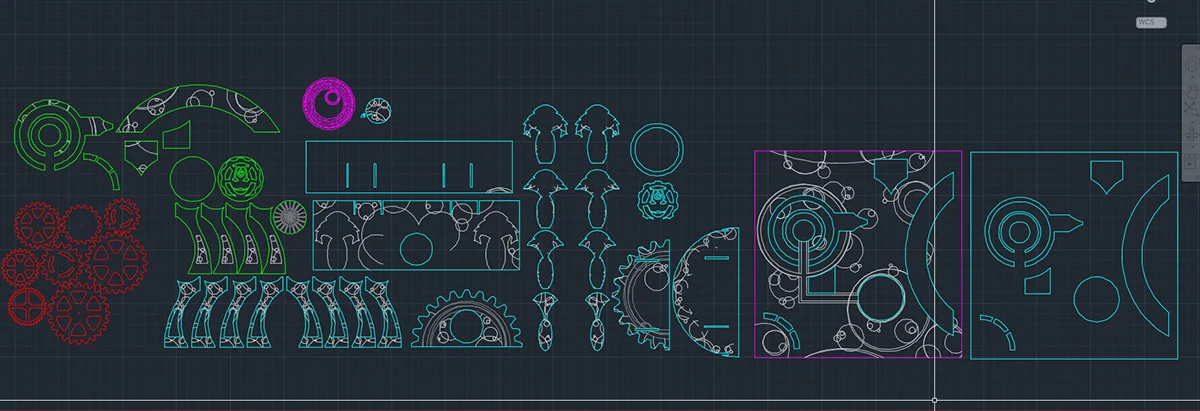
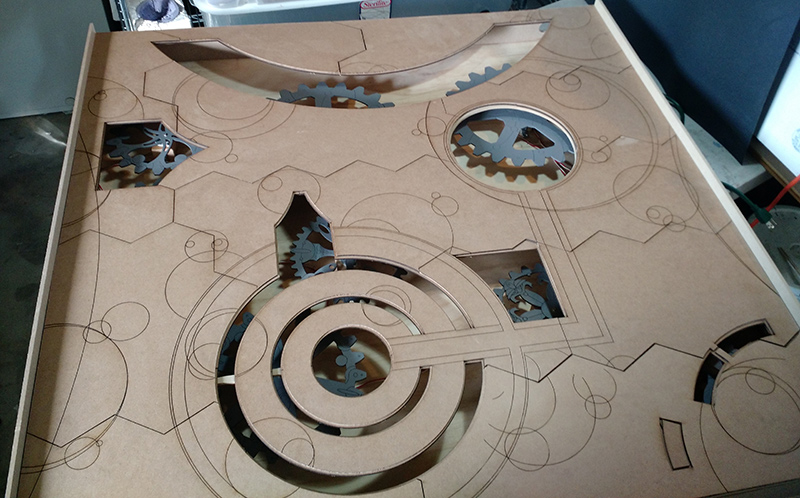
So to start things off I laid everything out in the computer for the laser cutting.
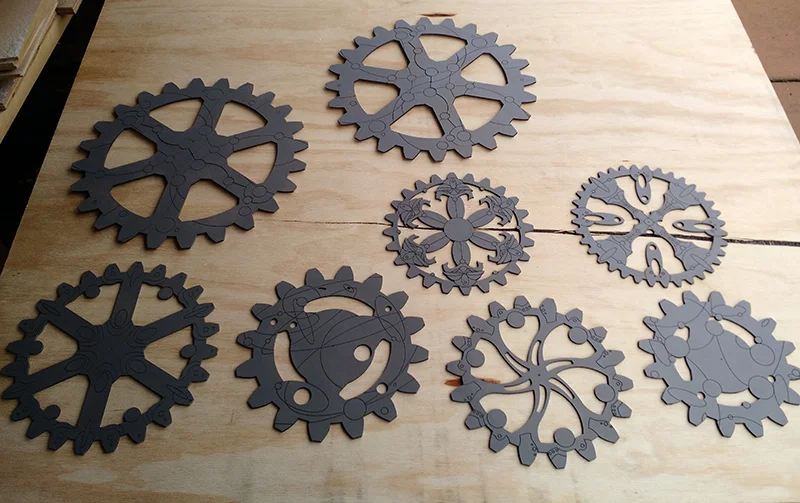
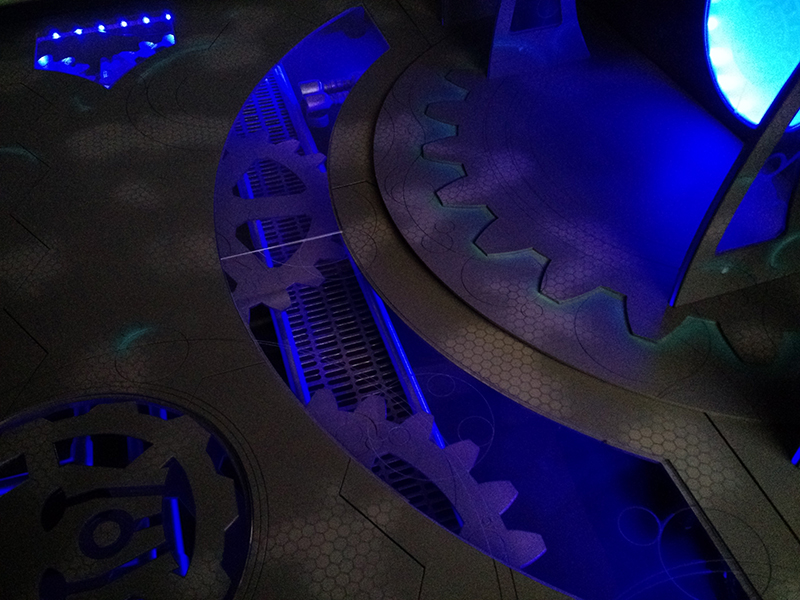
Once it was all laid out I broke out all the parts for Archi to cut up. And Archi made the gears even cooler too.
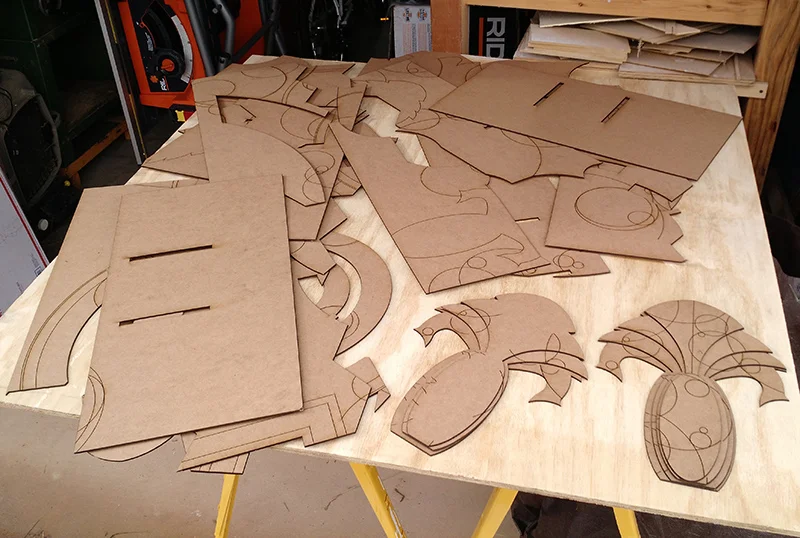
A short time later a great pile of parts showed up. This is just part of it I opened up.
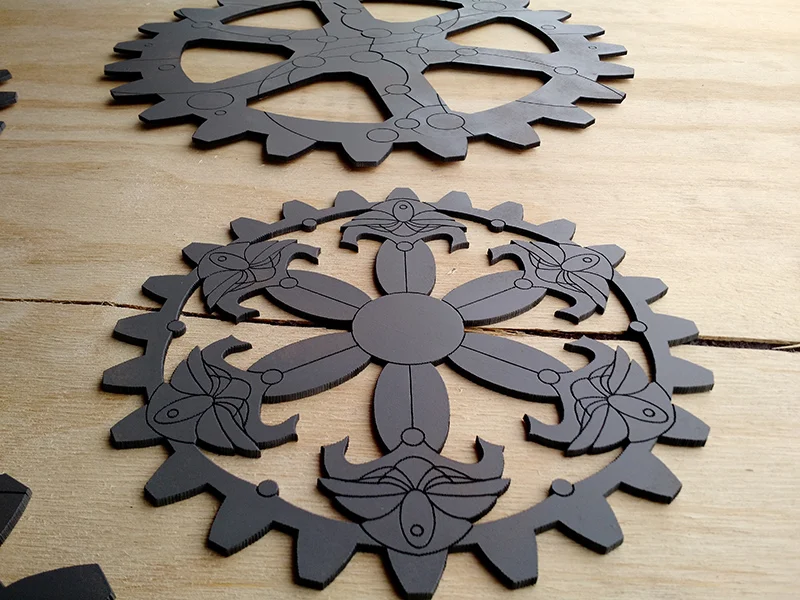
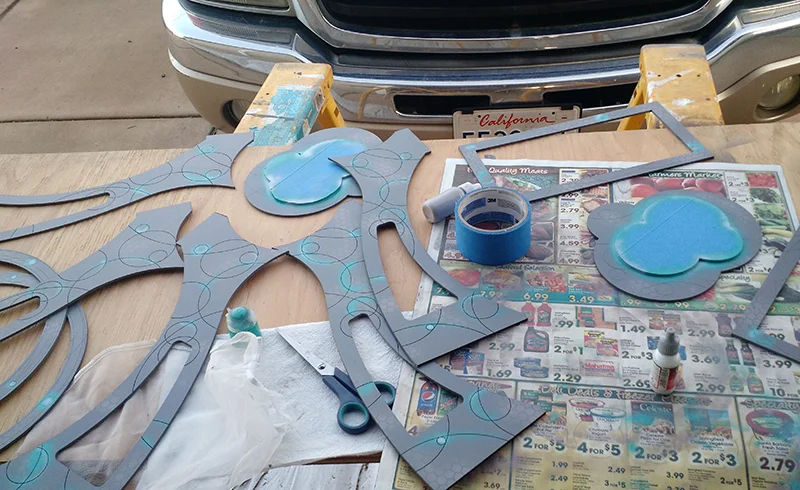
Some of the gears painted up.
Some of the parts stacked up and glued for the side board. I used wood glue to assemble everything so it would be nice and strong.


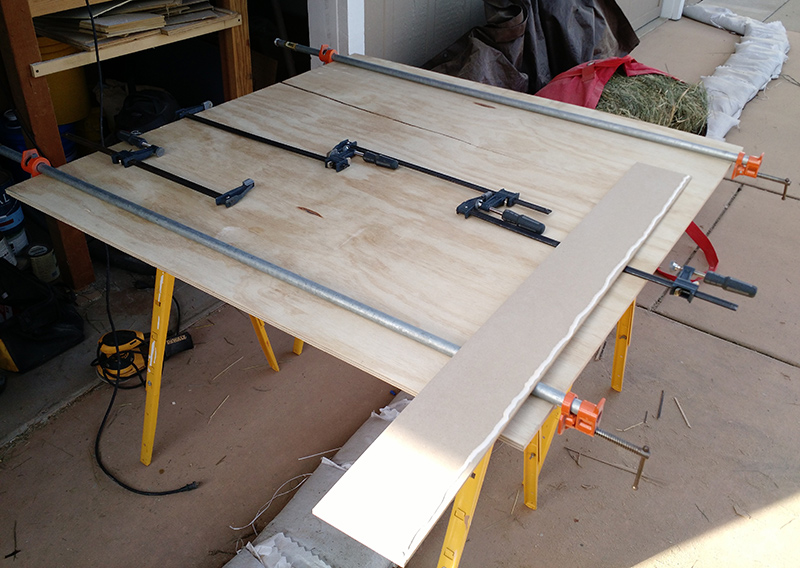
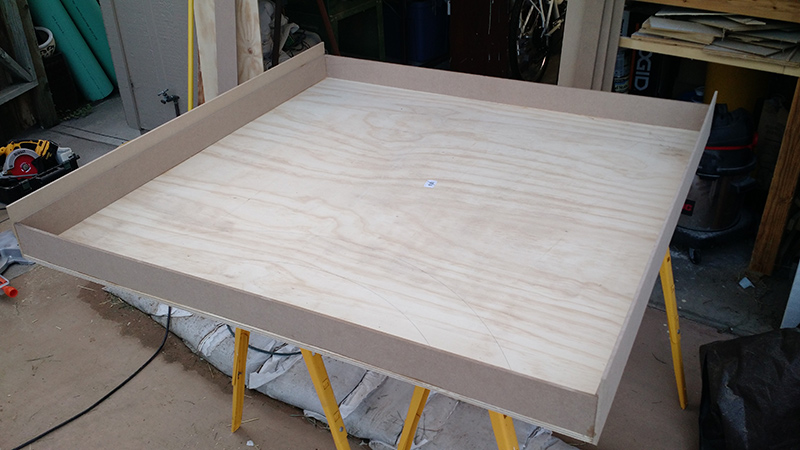
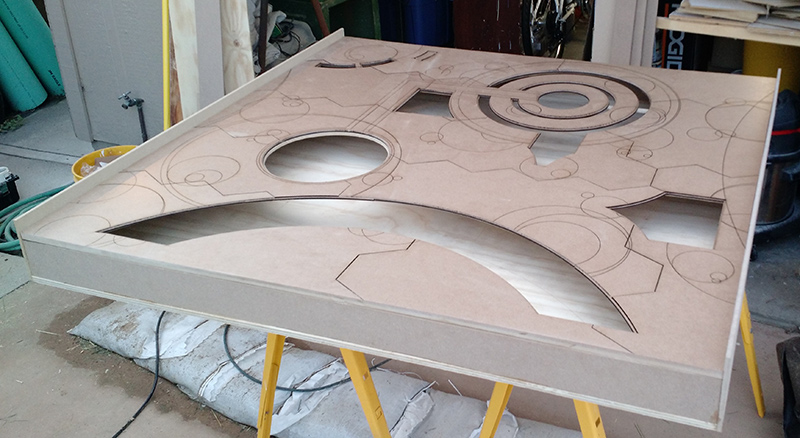
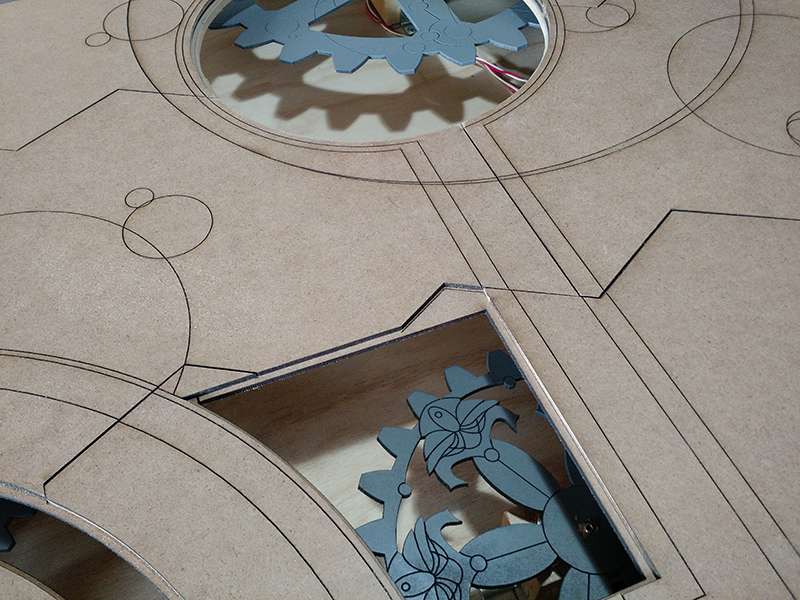
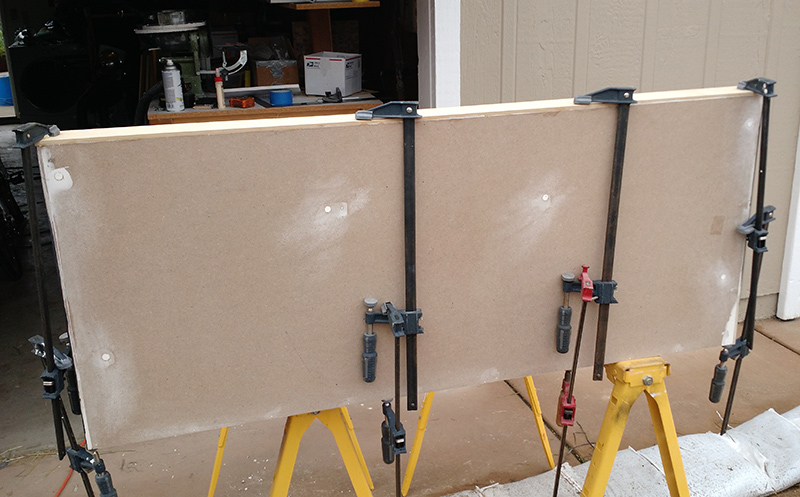
fThe play surface is going to be made up of a few layers of mdf wood. This will make it nice and strong as there is no way to keep people from leaning on it.
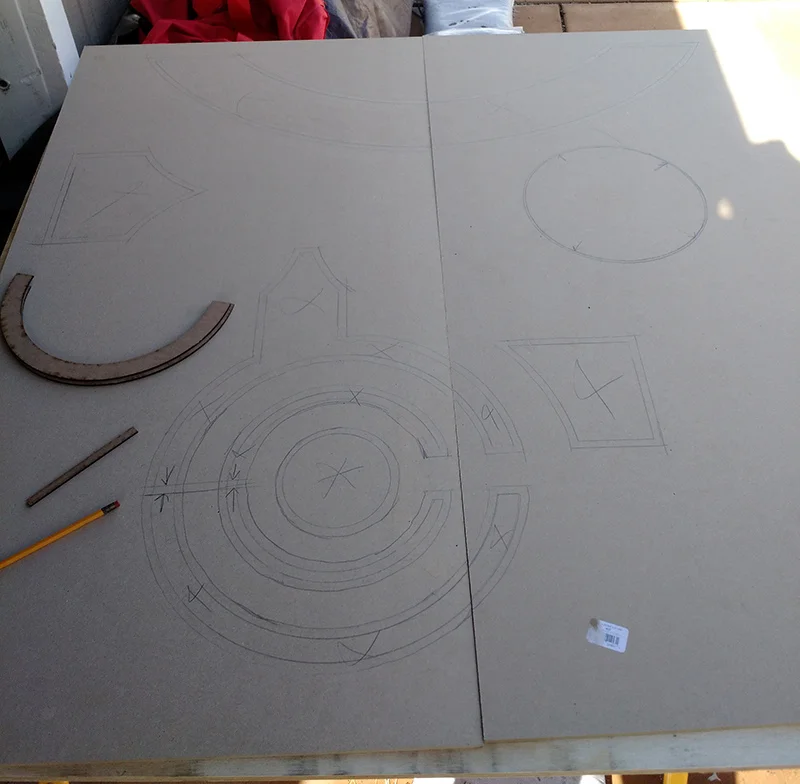
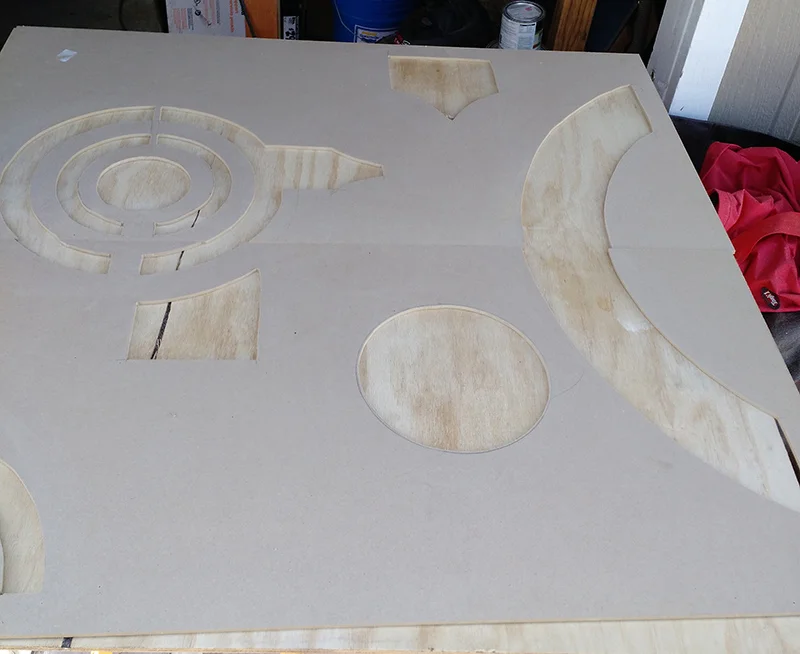
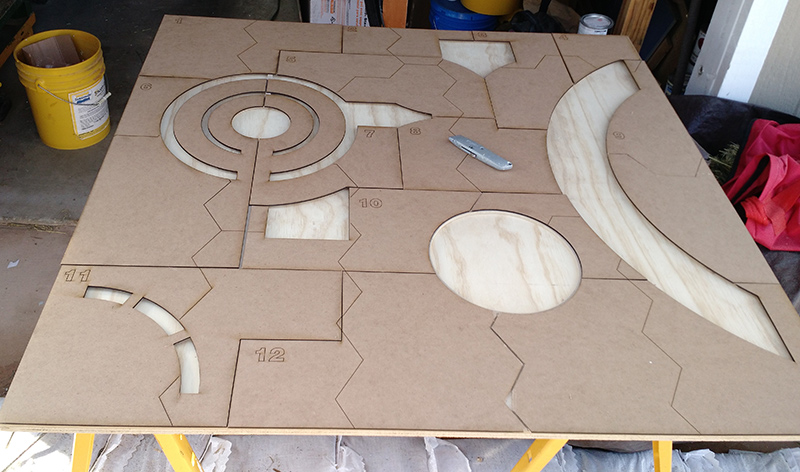
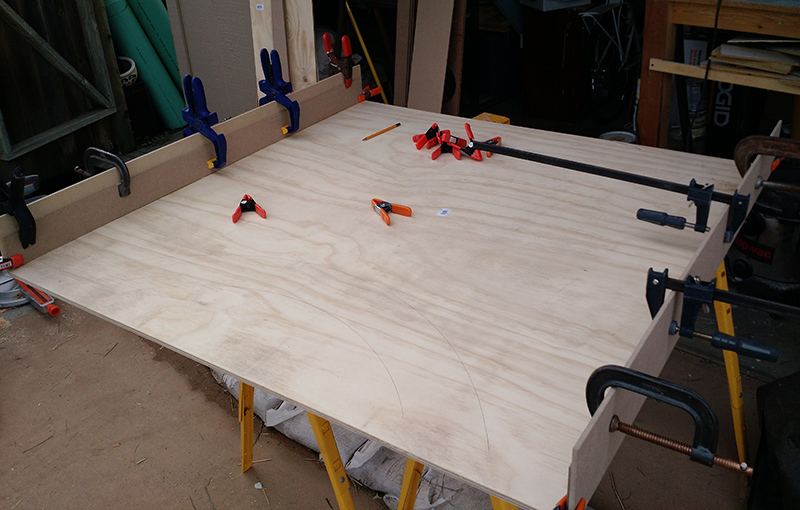
I laid the intermediate layer on the bottom layer so I could trace the openings out. The bottom layer is 1/4" mdf and one piece so it will be nice and strong. The next two top layers are 1/4" laser cut mdf.
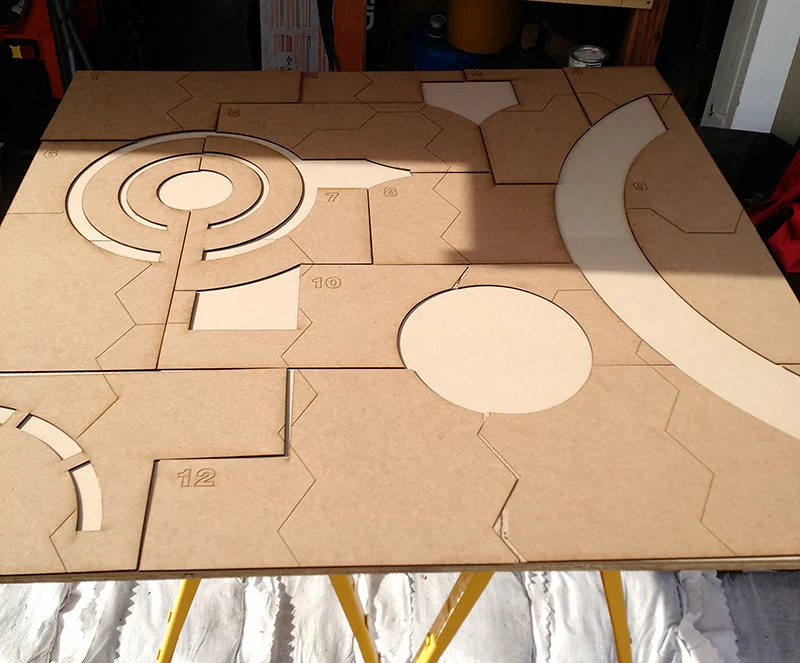
After the holes were traced out I added a 1/4"ish offset so you won't see the thicker under layer.
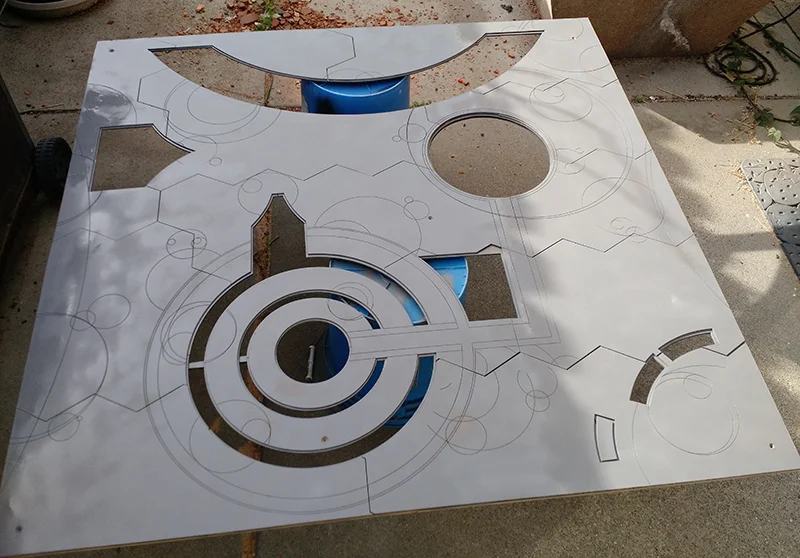
Drilled holes in the corners to help jig saw cut the parts out.

Pic with the openings cut out.
And the middle layer laid on top.
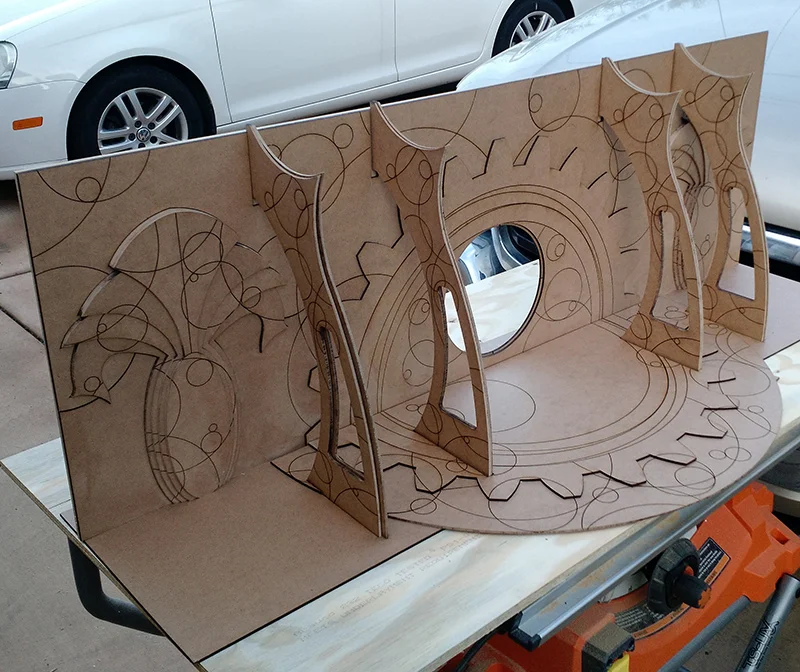
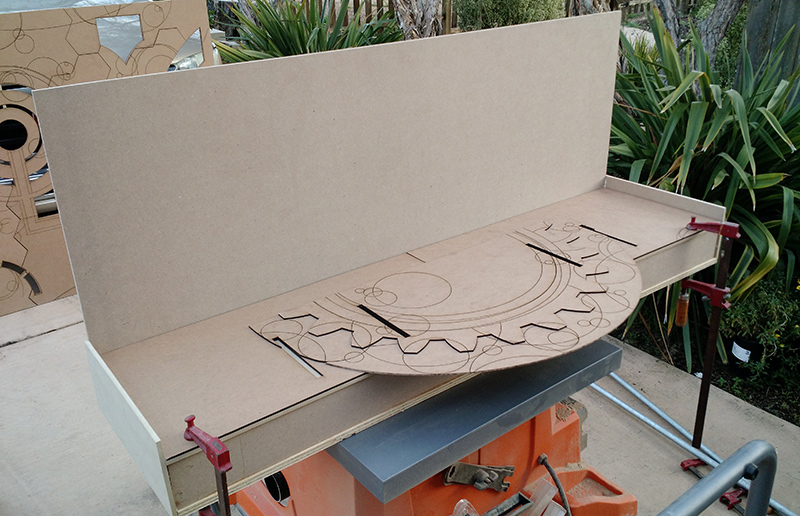
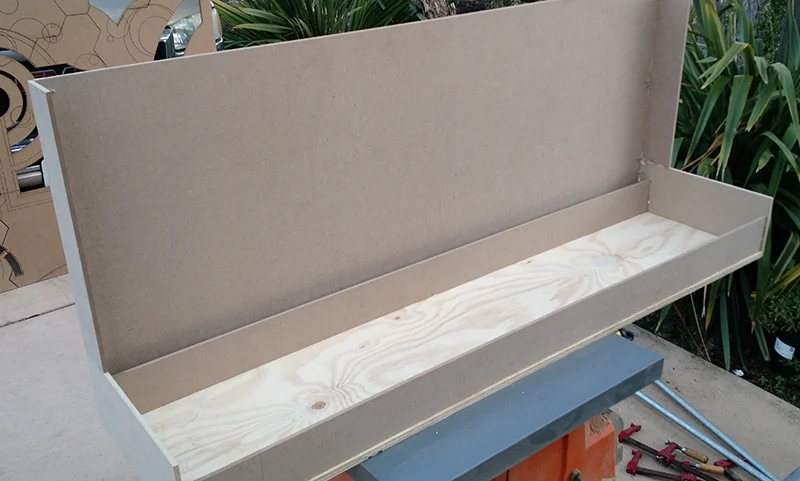
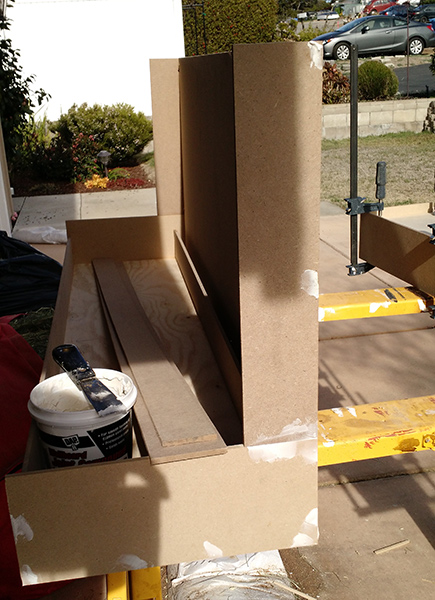
Here is one of the side boards.
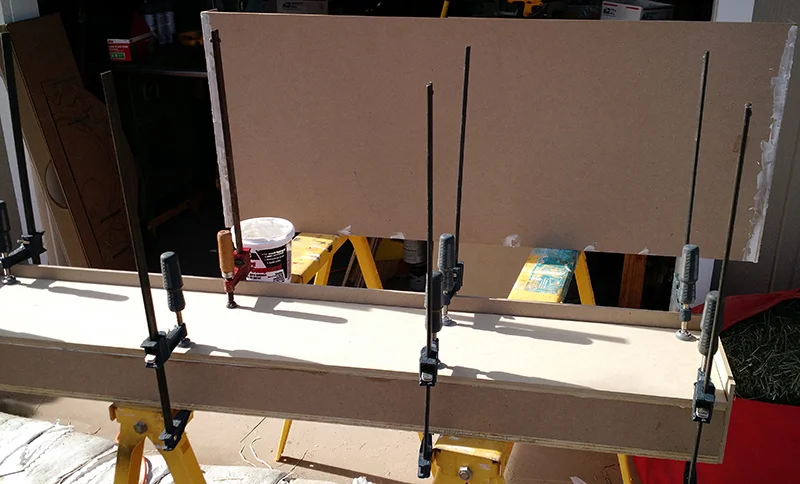
The layers are glued together and then test assembled with the verticals.

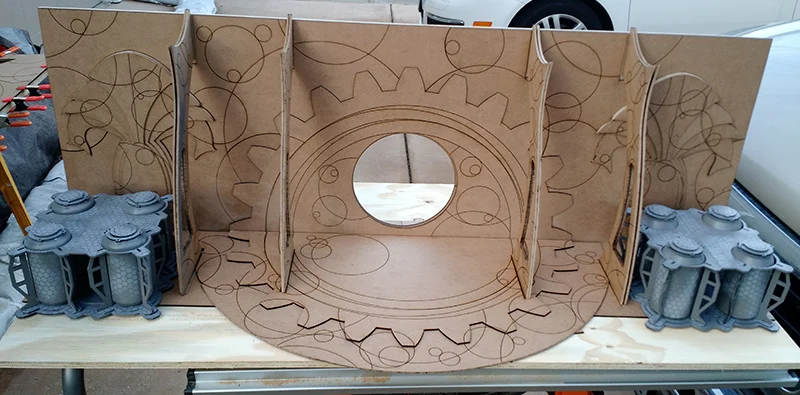
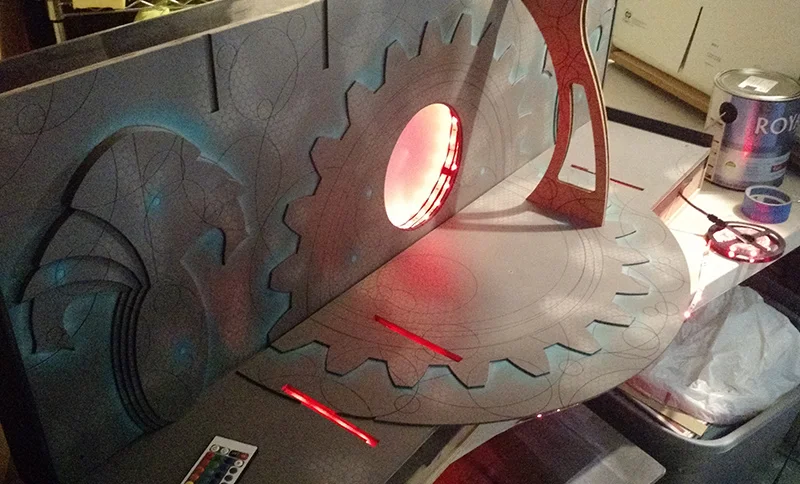
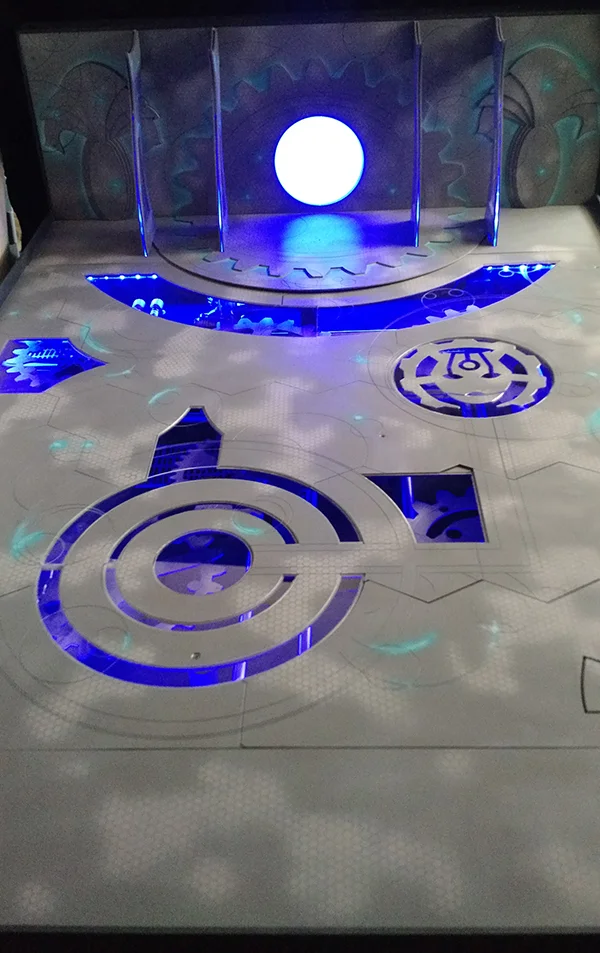
The verticals are going to have a piece of plexi between them so it will light up with the table.
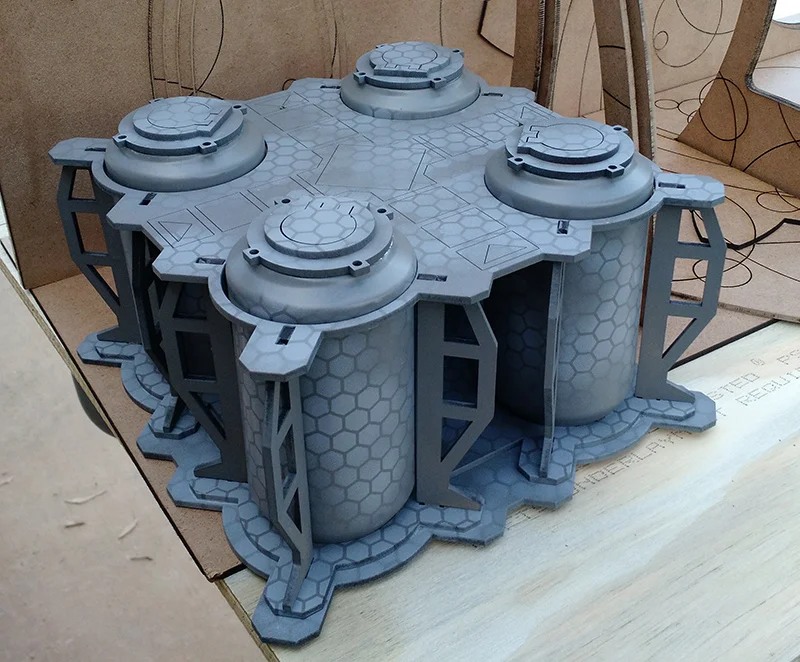
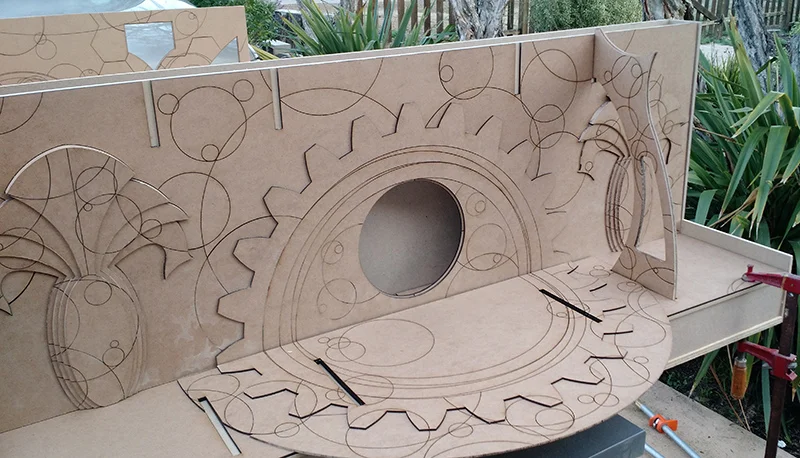
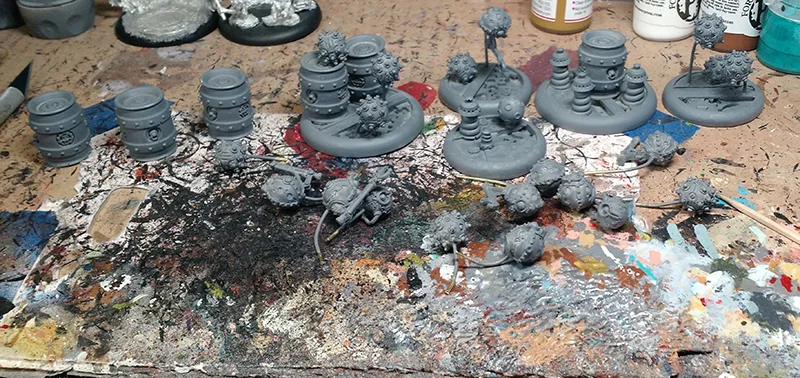
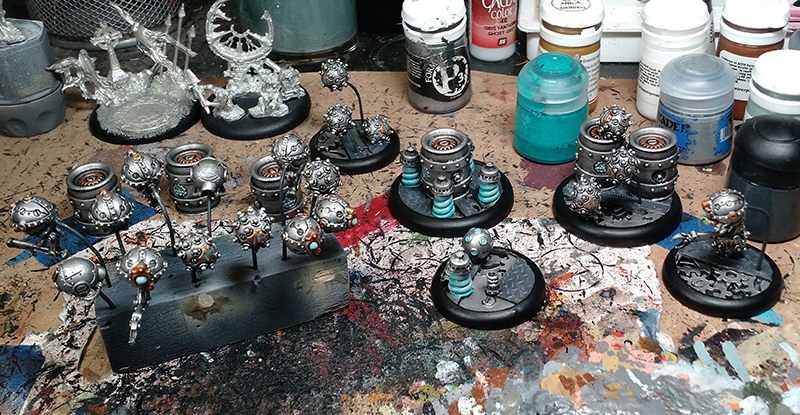
And some of the industrial terrain that will be on the table too.
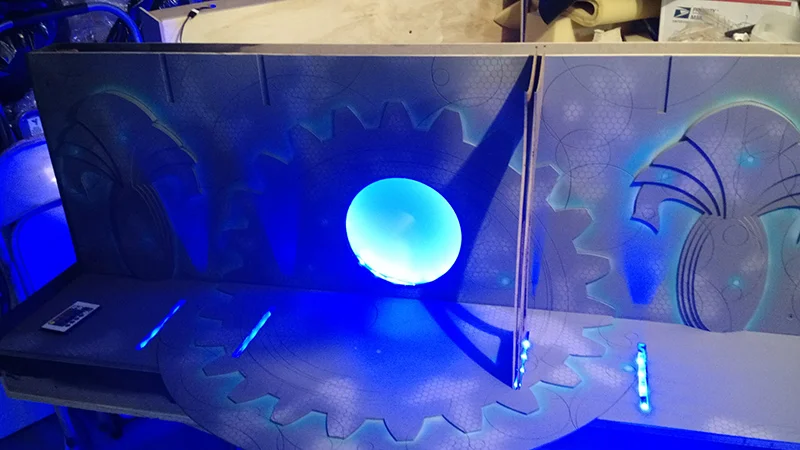
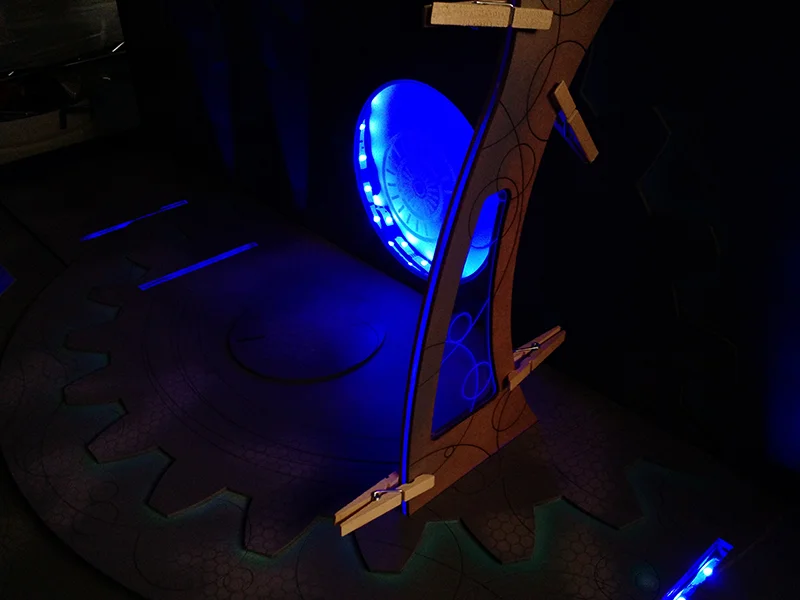
The center will be a big glowing eyeball thing.
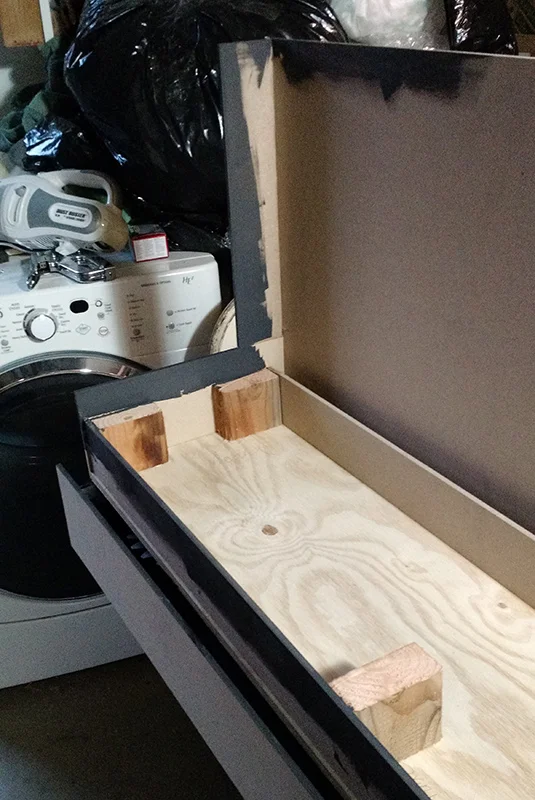
Time to build the boxes that the table and side boards will sit on.
The bottom is 1/2" plywood so it will be nice and strong. The rest of it is 1/4" MDF. This way it is still pretty strong and I won't have to sand everything to make it nice to smooth.
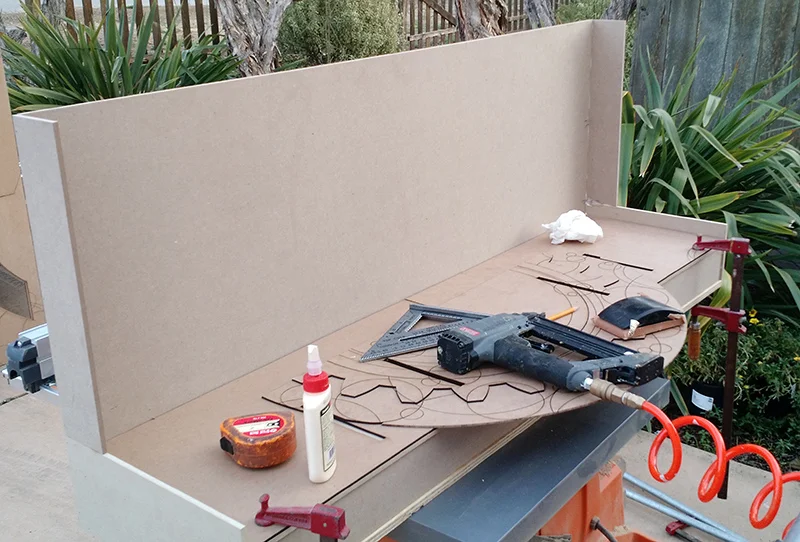
I ripped down the edge pieces on the table saw to 5". All the parts get put together with wood glue and then pin nailed with a finish nail gun.
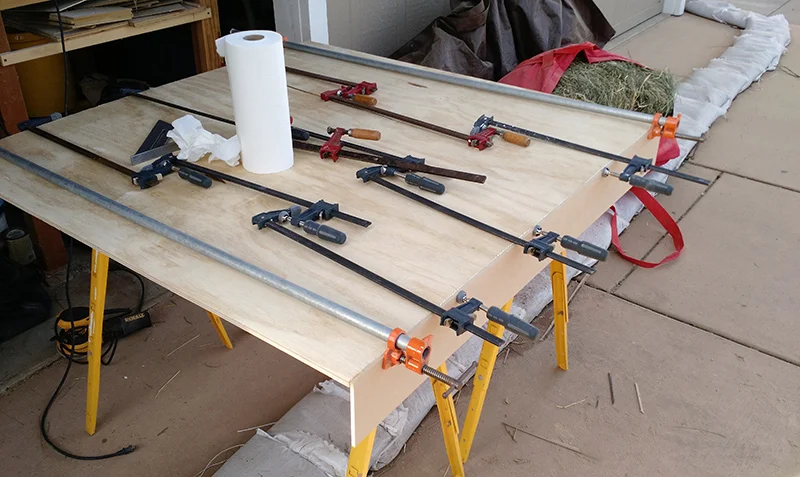
Once that dried a little bit I flipped it over and glued a 3" strip of mdf inside. This is going to be the lip the finished table surface will rest on.
And the 2nd set of 3" support strips.
Box for the larger side board.
This is about as far as I can take the side board box until I get the facing finished and the lights set up.
Here is the table with box and play surface set on it. It is pretty stiff since there are three layers of MDF glued together, but I will be adding support posts underneath as they is no way I can keep people from leaning on it.
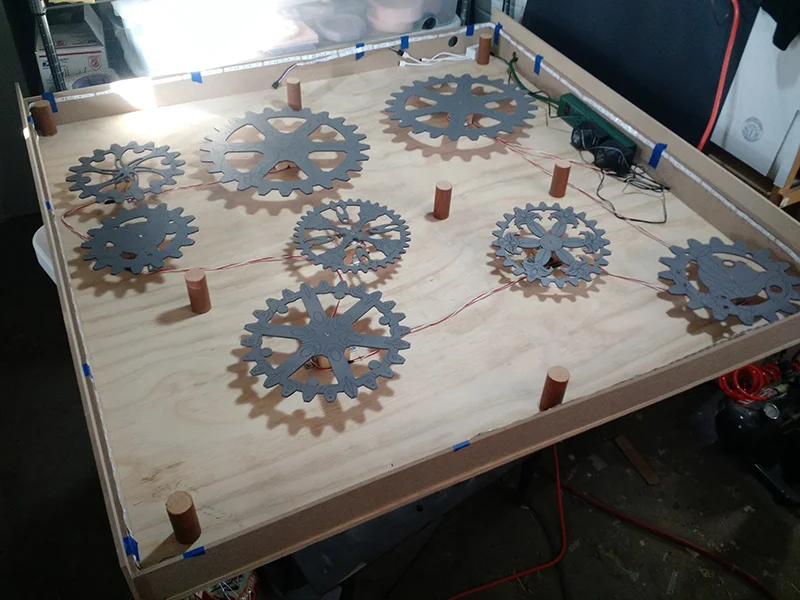
Now to lay out the gears. I printed the the gear locations from my original concept design with some dimensions on them so I can locate them on the table.

And with the gears on the board. I then put to top back on to make sure everything lined up correctly and fixed any locations that needed it.
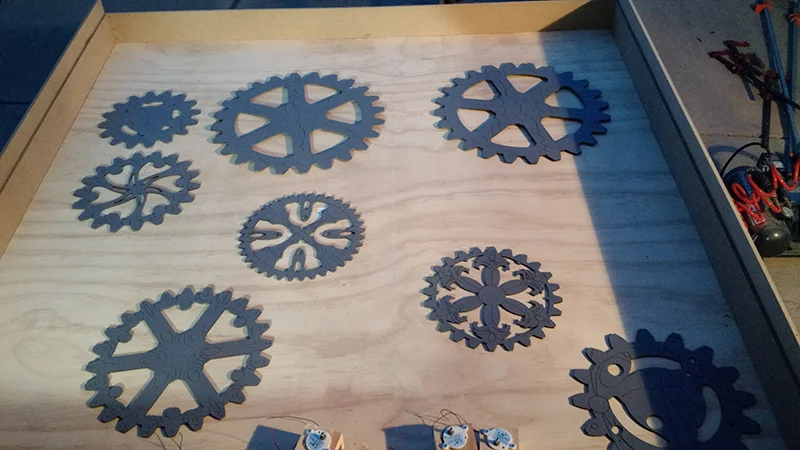
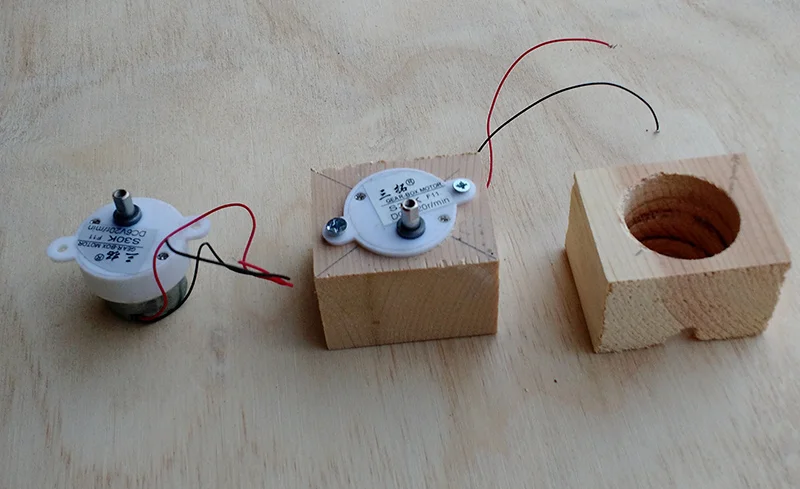
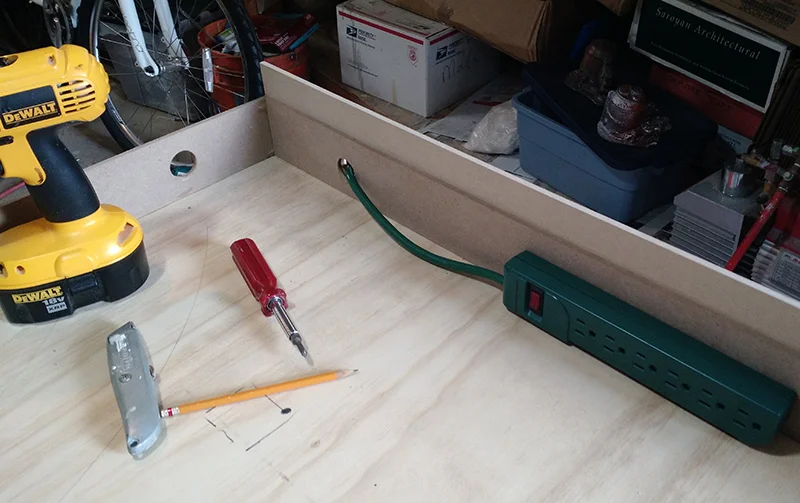
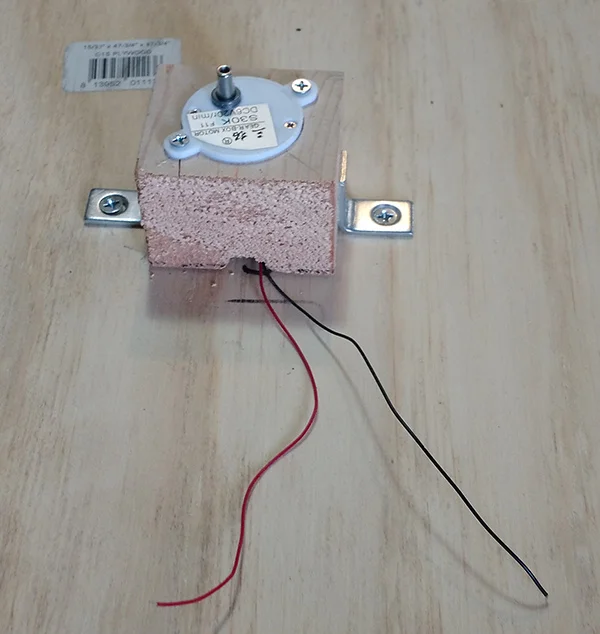
Each gear is going to get a motor. I got some 6v 20rpm motors off ebay. I made wood mounting blocks for them. This also gets the gears off the bottom of the table to make room for the other do-dads that are going to go in there.
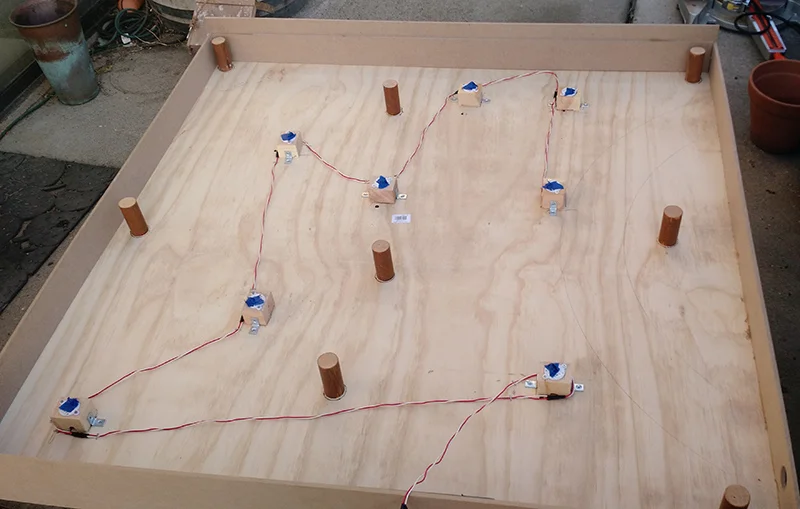
To power this thing I am going to put a power strip in it so I can plug in the transformers. The transformers will give me 12v power for the LED's and 6v power for the motors. I also sketched out the squares where the motors will mount to.
Motos mounted with little L-brackets. Got shallow screws so they did not go through the bottom of the table.
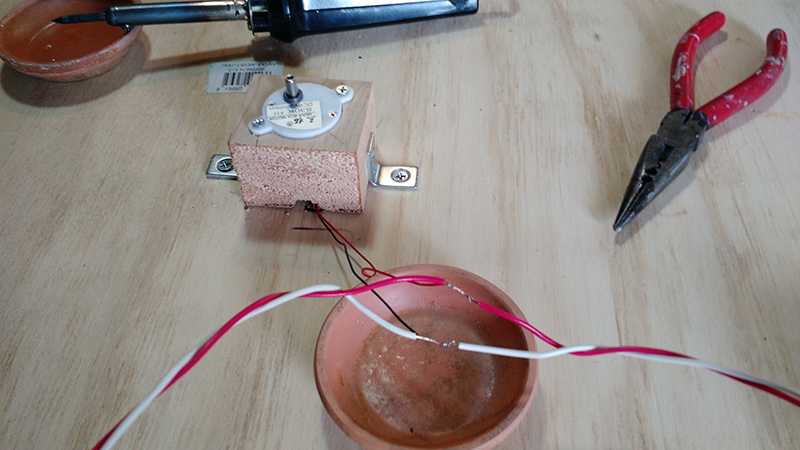
Soldering up the connections. I am wiring them up so if one shorts or I have to remove it the rest will still work.
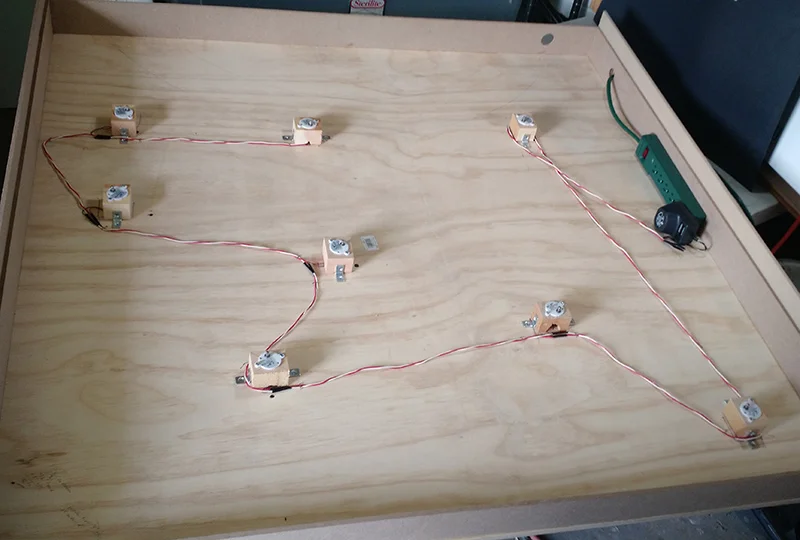
All finished wiring for the motors. (I later ended up adding a switch for the motors so I could stop them without having to unplug the whole thing.
With the gears mounted.

And with the motors on.
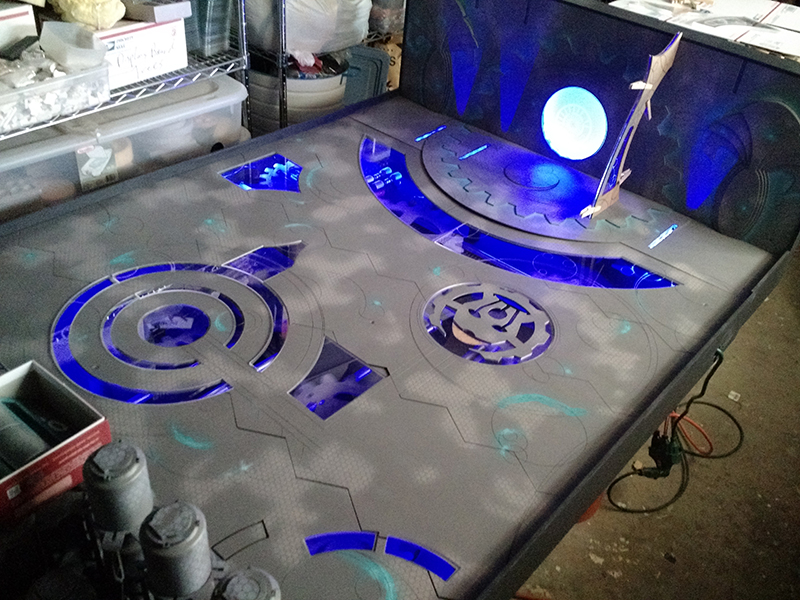
Once I made sure everything was working I dry fit the top to see what it was going to look like.
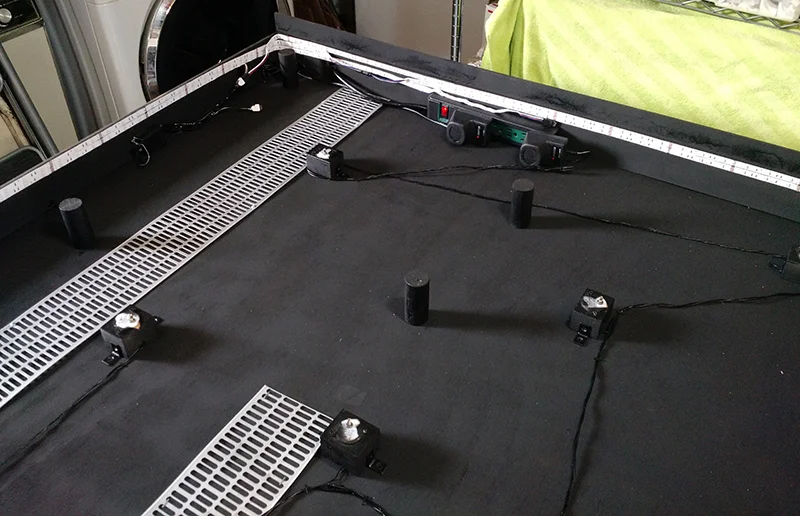
Now I get to start adding some lights. I hoped that the edge lighting would be enough to light up the entire board without shining in peoples faces. This is where I get to find out.
I used some painters tape to tack on the light strips. I will need to removed them and paint the inside first before they go on permanently.
You can also see the stand-offs I added to help keep the table from collapsing when people lean on it.
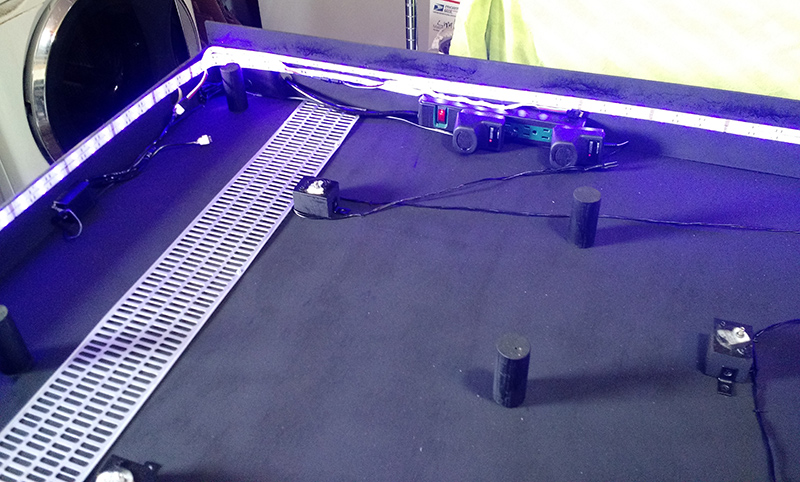
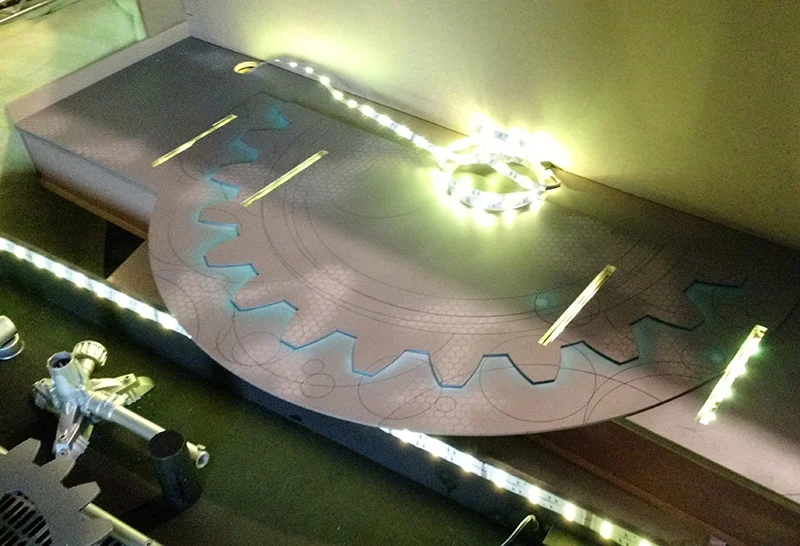
And with the lights turned on! I ended up adding a second row of LED strip so it would be a little bit brighter in well lit rooms.

The LED strips controller has a bunch of different options for colors and light pasterns. While playing I would expect to keep it a solid color. Though it does have an IR remote so maybe in the middle of a casual game I can F with them a little...
Time to paint the inside of the table. I removed the power strip and taped off the tops of the motors. Everything else is going to get spray painted black.
And after a few coats of black spray paint.

Patching up the joints and nail holes to sand them smooth. Also assembling the smaller side board. The side boards are separate for for easy of transportation and also so I can just take to main board out to play with if I want to. Carting around a 4'x4" table is not too bad. But a 6'x4' table that weighs 100 lbs would be a little much.
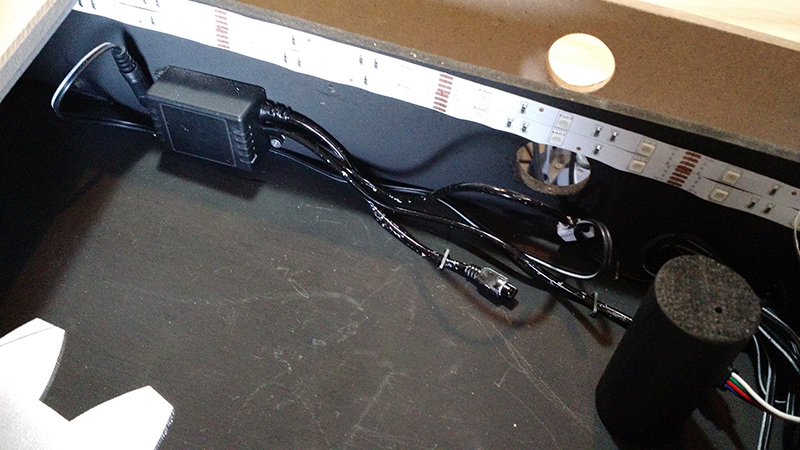
Here you can see the transformers and the controller for the LED strips. The LED strips have adhesive backing which makes them nice and easy to install.

I installed two rows of LED strip. Fortunately they are still high enough that they don't shine in players eyes.
And with the lights on. They come with an IR controller so it is super easy to turn them on/off and change the colors.
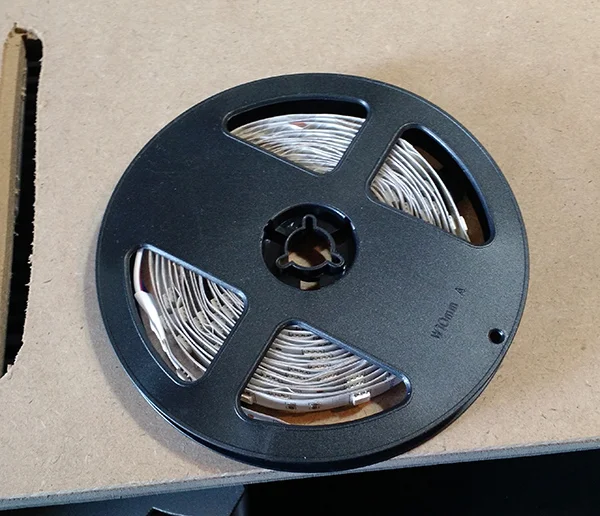
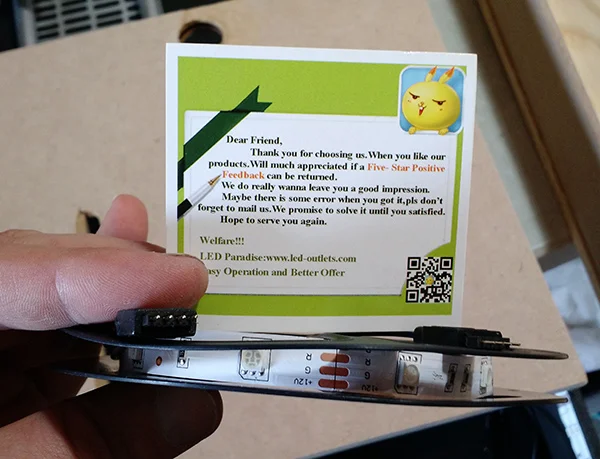
And here are the strip LED lighting I used.

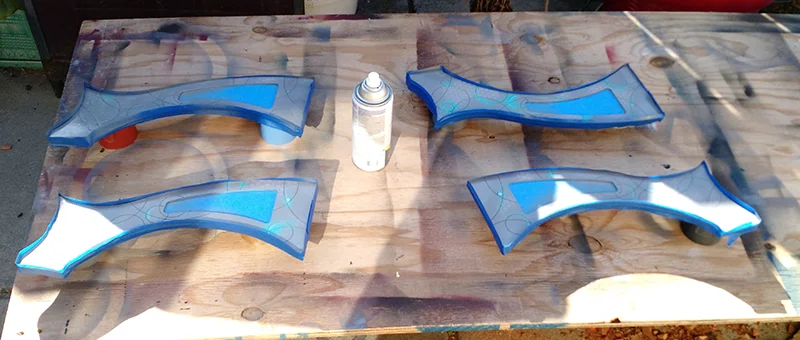
First coat of paint on the table. I used a spray paint for this. Mostly so it would be nice and smooth and I would not have to worry about flooding the details on the board. I used a warm gray color called Granite.
It took a few coats a paint to get a nice solid coat of paint. I also did the side boards at the same time.
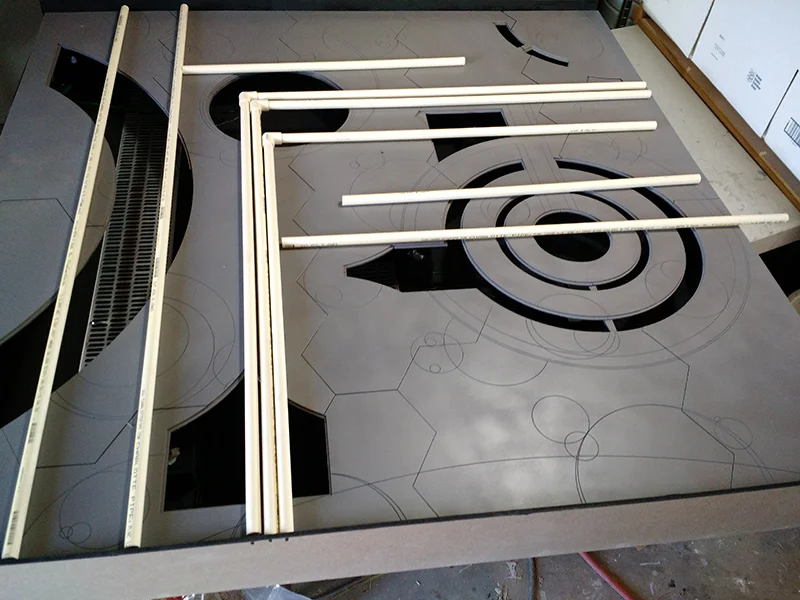
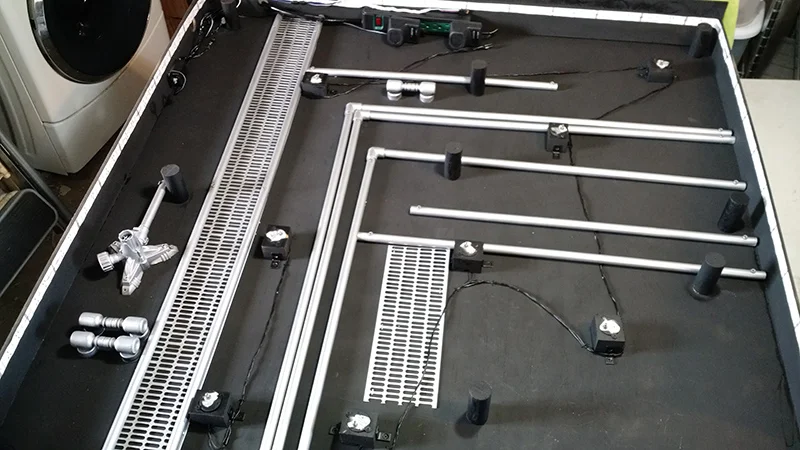
Once that had dried I set it on the table and started lining up the pipes I will add to the interior to make it a little more interesting. I used 1/2" PVC pipe for it.
Once I had them cut I spray painted them silver. Then tapped some holes and screwed the to the bottom of the table. I also added some other grating and do-dads I had laying around.
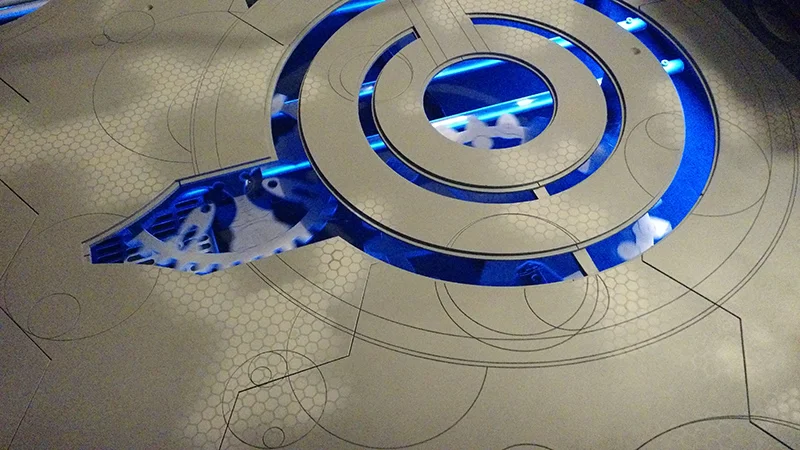
And with the lights on.

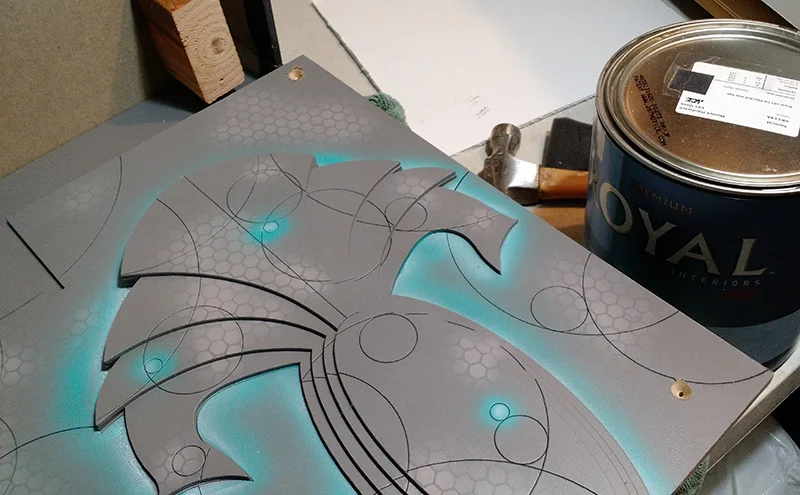
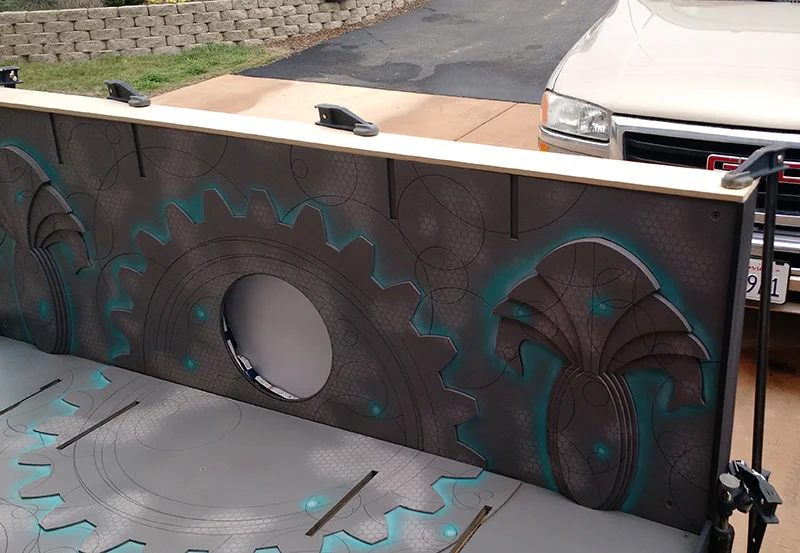
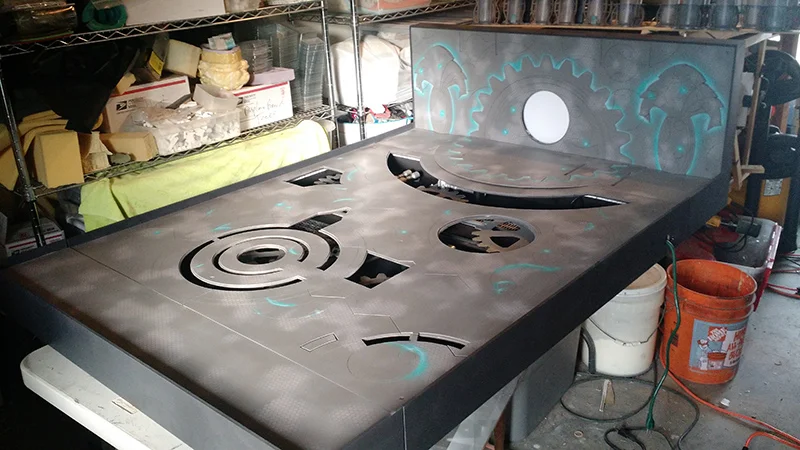
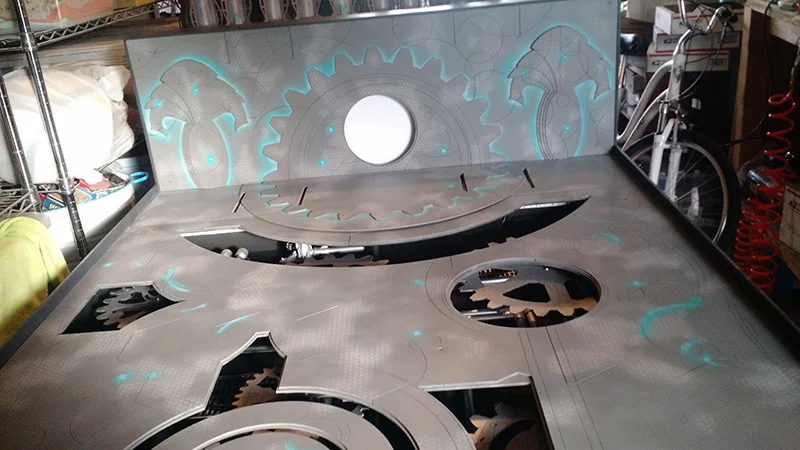
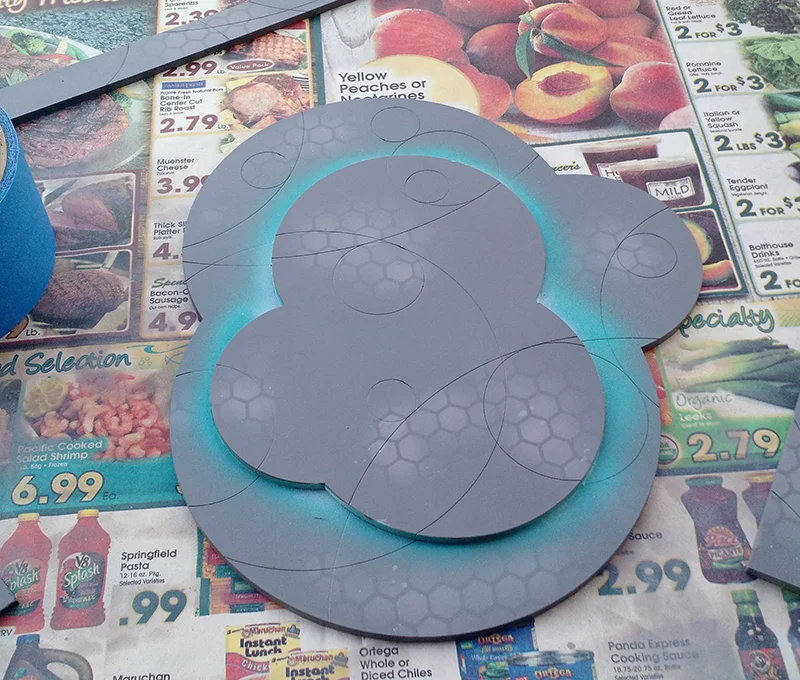
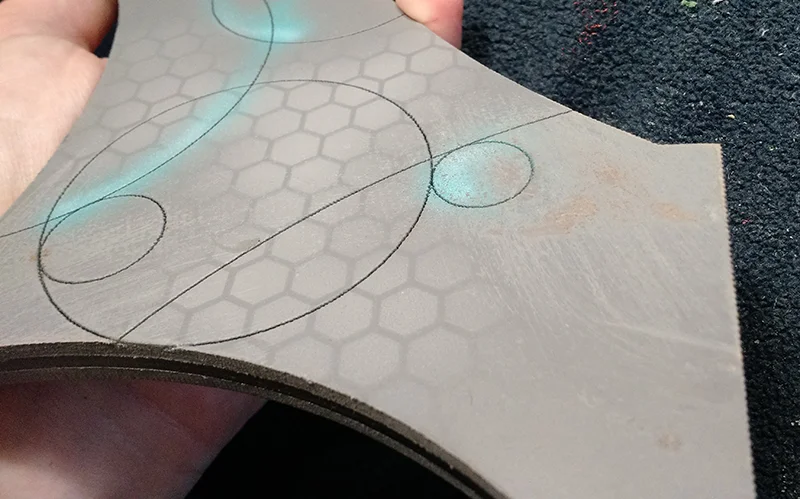
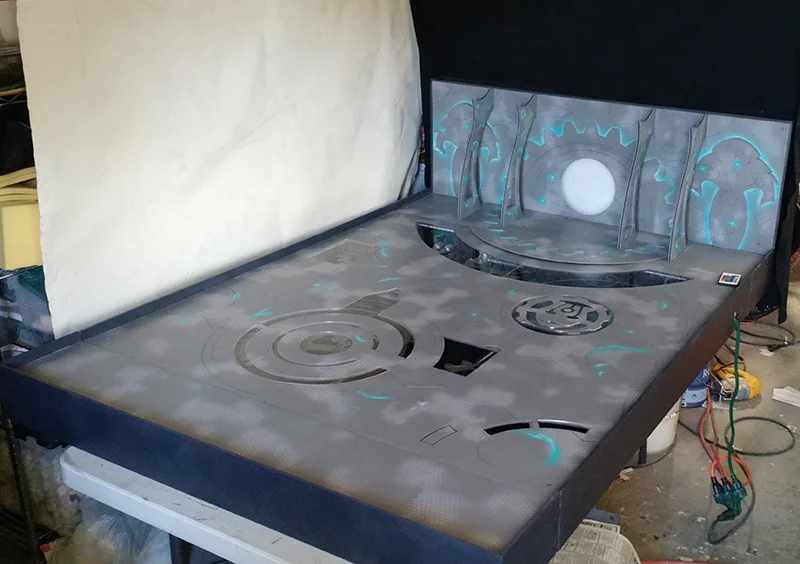
Next up now that all the spray paint base color is all dry I started adding a hex patter to everything. I did it so it was fading in and out so the table would not be too busy, but still have some "texture" to it. Just a plain grey table would be kinda boring.
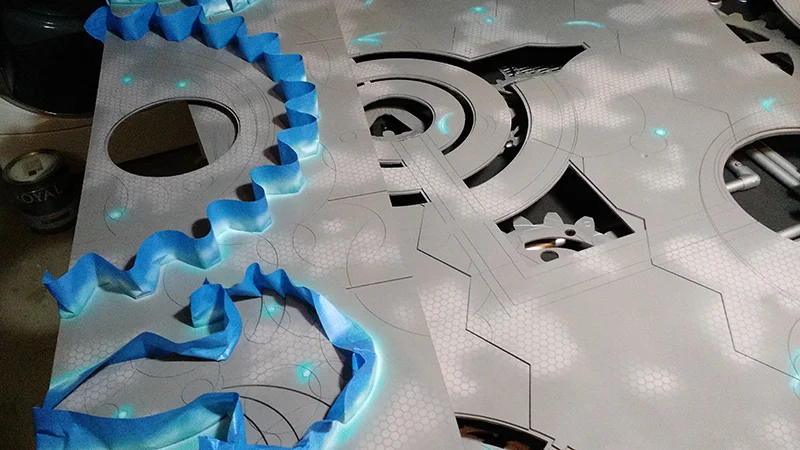
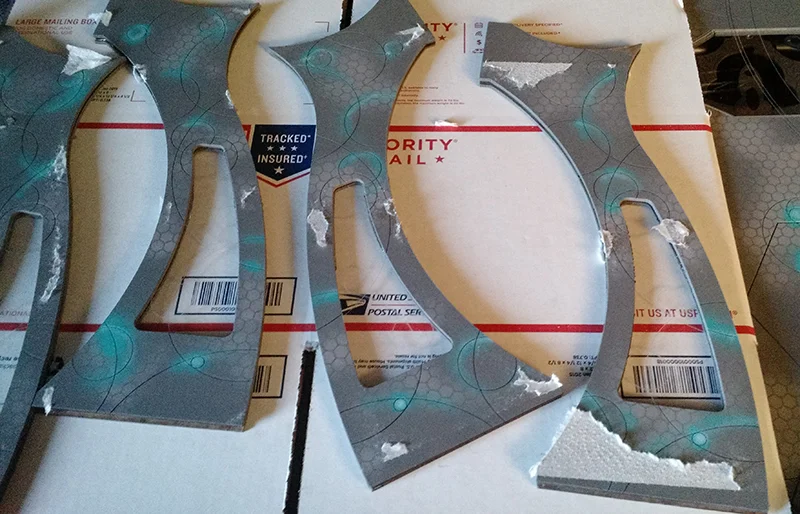
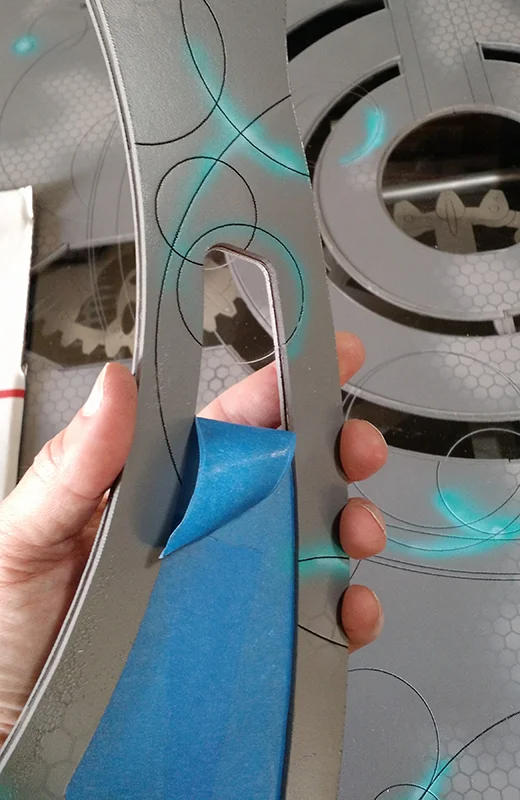
Next up is adding some painted glow effects to the tables to help break up all the grey. I had to do a bunch of taping off to keep the paint where I wanted it.
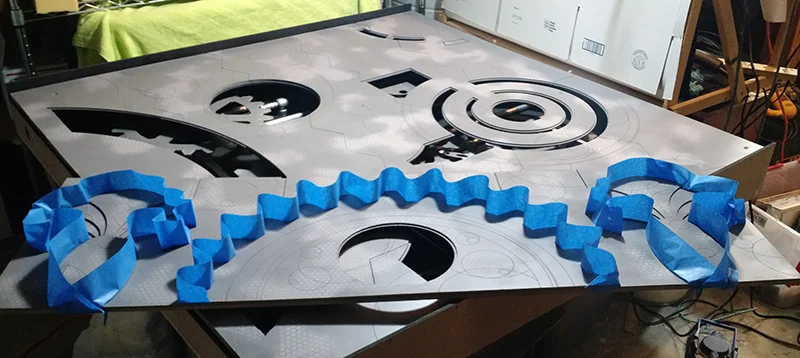
For the glows I used P3 arcane blue and then some light blue grey.
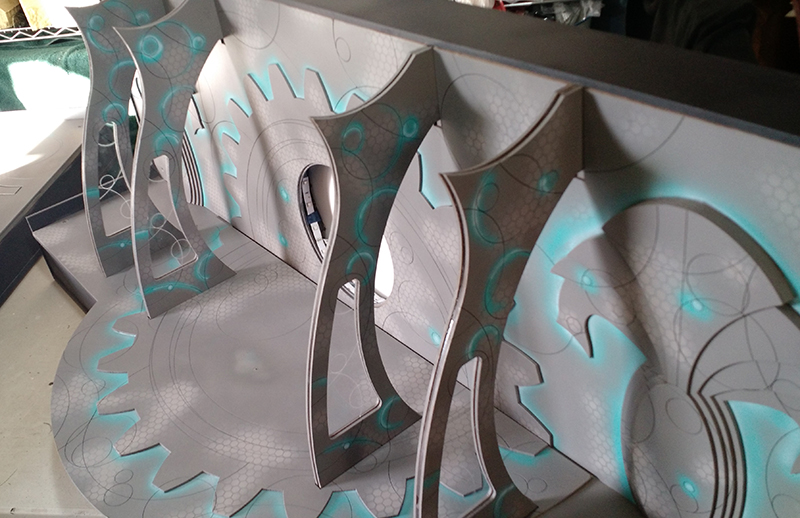
And all finished up. Once this was nice I dry I clear coated everything so it will be some what scratch resistant.

The other part of the side larger side board.

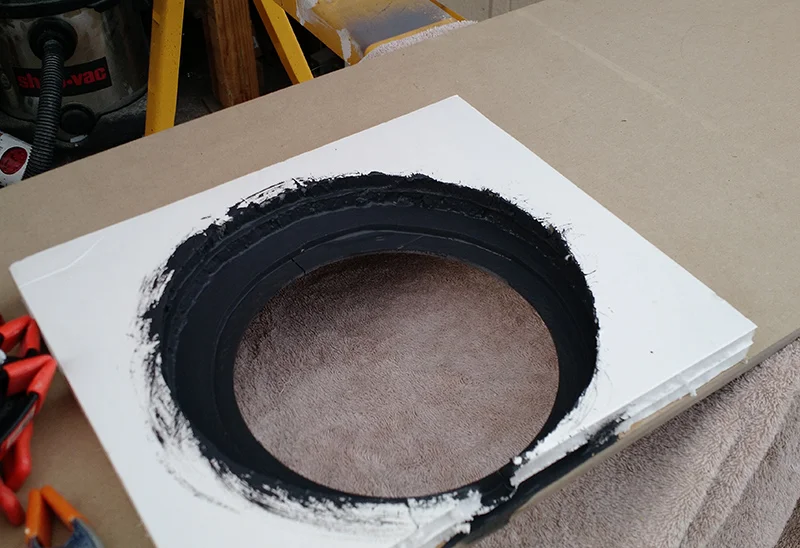
On the larger side board pictured above there is going to be a blue plexi eye/aperture that will light up. I am going to build a box that I can line with LEDs to make it glow. I used some foam core as it is nice and think and light.

Glued on and painted the inside rim black.
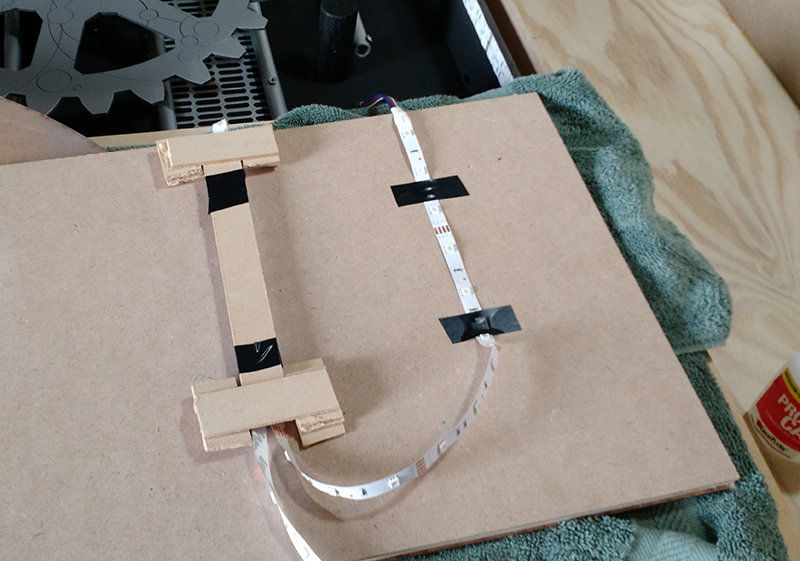
Before I can put the lights in the "eye" I need to do the lights in the base of the side board. The side board buttresses will have a layer of Plexi sandwiched between the outer layer so they will glow. Originally I was just going to have some LED's shining up it. But I wanted them to match the board as it can change colors. So now I am going to run the LED strip to it.
I built some backing mounts for the LED strips. I could have just taped them in with some Duct tape, but I was worried that if it ever came unstuck getting in there would be a SUPER pain in the butt to fix it.
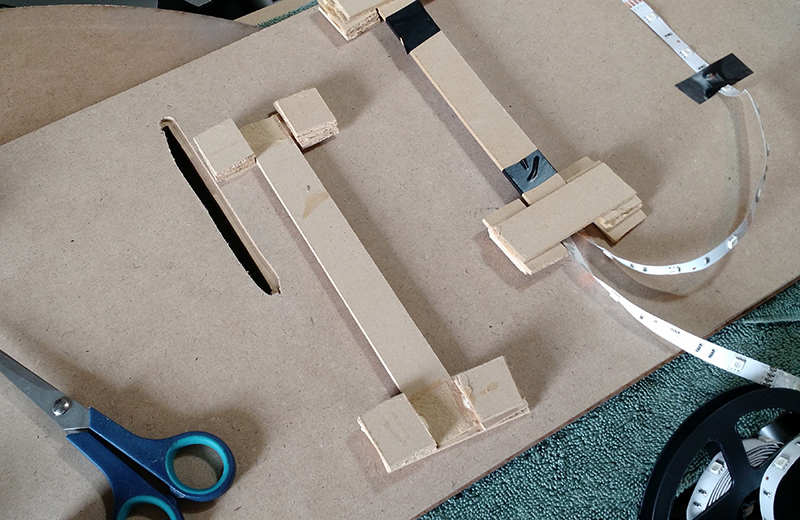

And testing before everything was dry to make sure I did not pinch the strip. If anything was messed up fixing it later would be difficult.
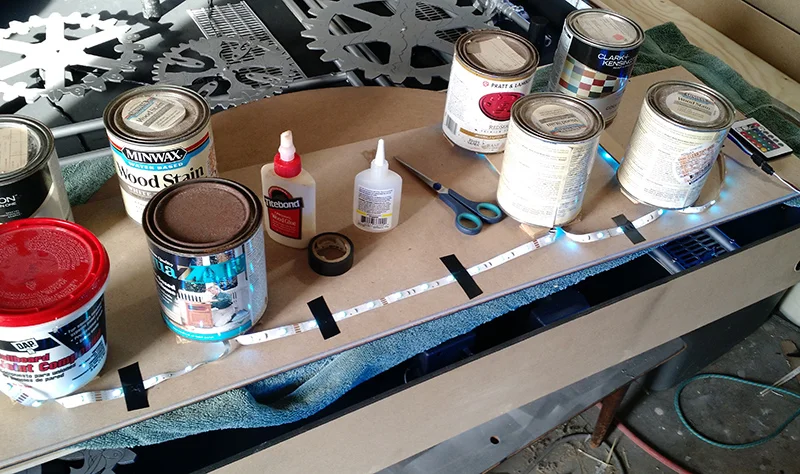
I have a hole in the side of the main board so I can connect the side board strip to the power supply.
After the glue set up I flipped it over and set it in for a test fit.
Once I made sure it still fit ok, I added some blocking and painted the edges of the side board.
I want to be able to take apart the side board just in case something happens with the lights, or if I want to change the way the lights are set up. So instead of gluing the finished faces on I am going to screw them into the blocking.

And the blocking and counter sink holes for the vertical face.

Doing up the LED strip inside the vertical panel. It will get another foam core backing panel that I will leave white to help with reflecting the light.


Now that the faces are attached for the side board I glued on the top. Just to the three side though so I can still take the facing off if needed.
Once that was all dry I painted the outside of everything a dark grey. I did not want black because of the jarring contrast between it and the finished table.
And with some of the terrain on it.

Next up I wanted to have a clock for the table that matched. After going through all this and having to put a bright red/green clock on the board made me cringe inside. I took one of my DGI clocks apart and painted it up.
It came apart pretty easy with just some screws. Some of the parts were plastic "welded" inside so they got taped off and the rest of the guts (that were still attached ) got set to the side and covered with some paper.
Primed and then sprayed with the same base color as the board.
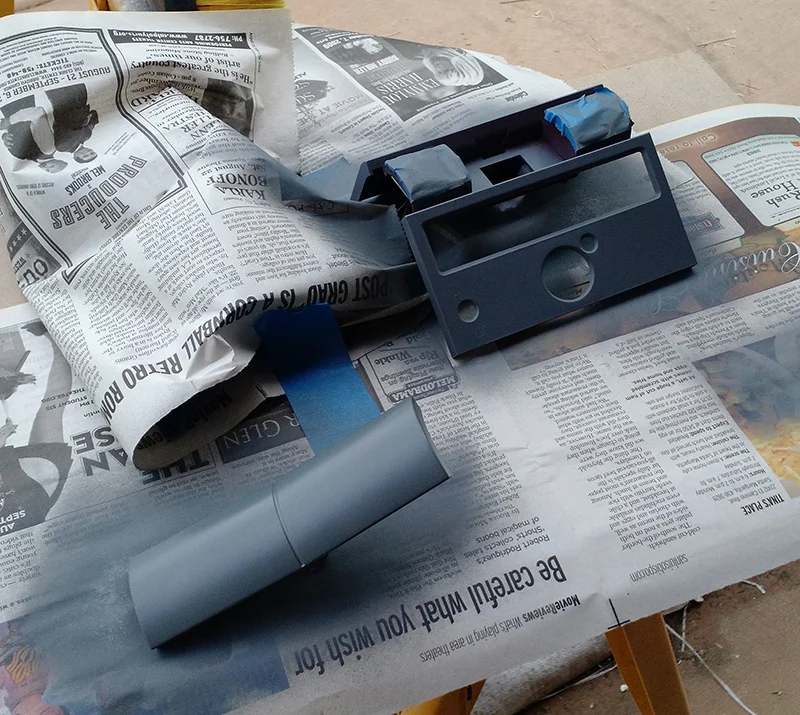
Hex pattern applied. Because, why not? and then glow effects added to the panel openings.

Once it stops raining I can get it clear coated and re-assembled.

Oh, and sorry for the crappy video.
I still have stuff to do on the table too.
-Get the plexi installed
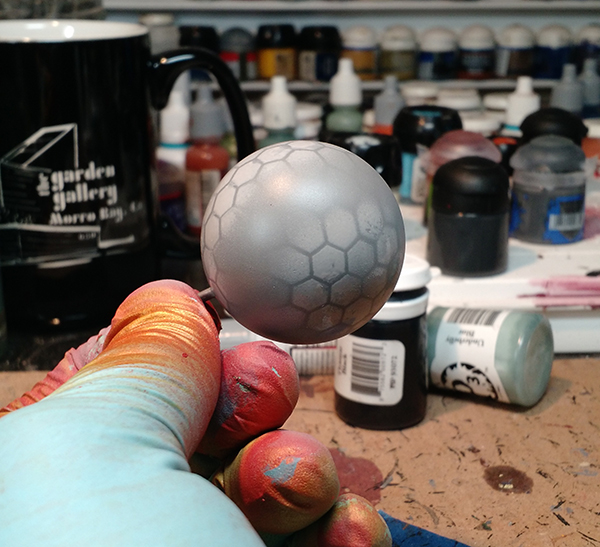
-Get the central side board solar system thing finished. Though I am maybe thinking of getting one of those floating globes to repaint and put there. I will see if I can find a cheap one. Unless someone has one around they don't want any more...
-Make some flags and objectives for the table.
-Paint up the optifex workers and drones to decorate the table with.
-Finish up the hills, smoke forests, trenches, etc.
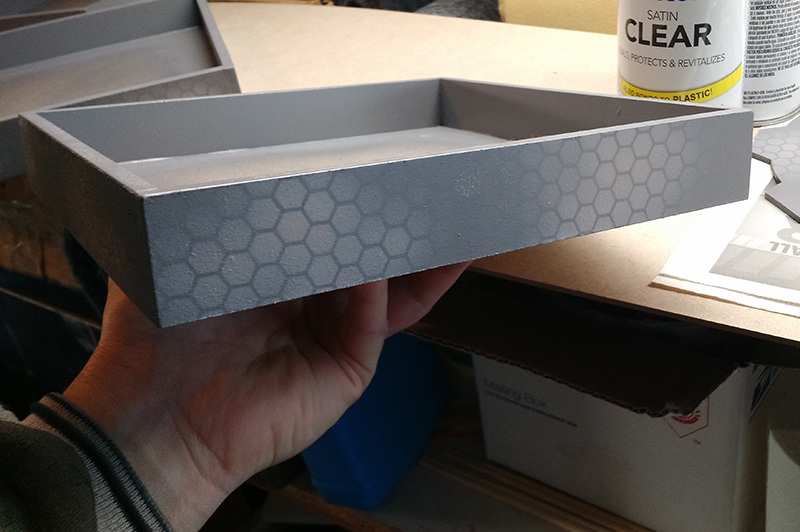
I could just imagine what large casino dice or any other heavy dice would do to this table, so I made some dice trays that match the table. And woe to anyone that does not use them.....
I cut strips down on the table saw and clamped them with some glue to an 8"x8" square piece of MDF.
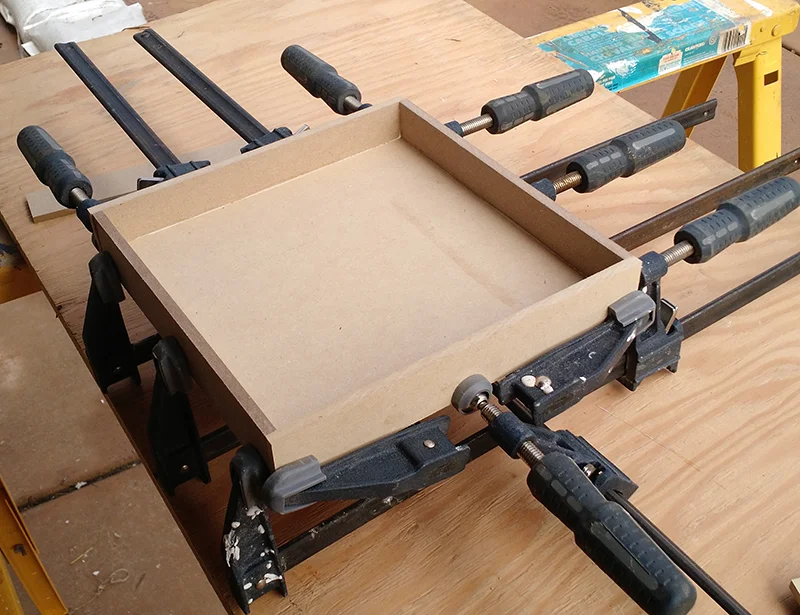
I made three of them so I would have an extra for myself.
I sanded down the joints so everything was mostly smooth.

Primed.

With the grey base paint that the table got and then the hex pattern. Once everything was nice and dry they got a few coats of spray clear coat.
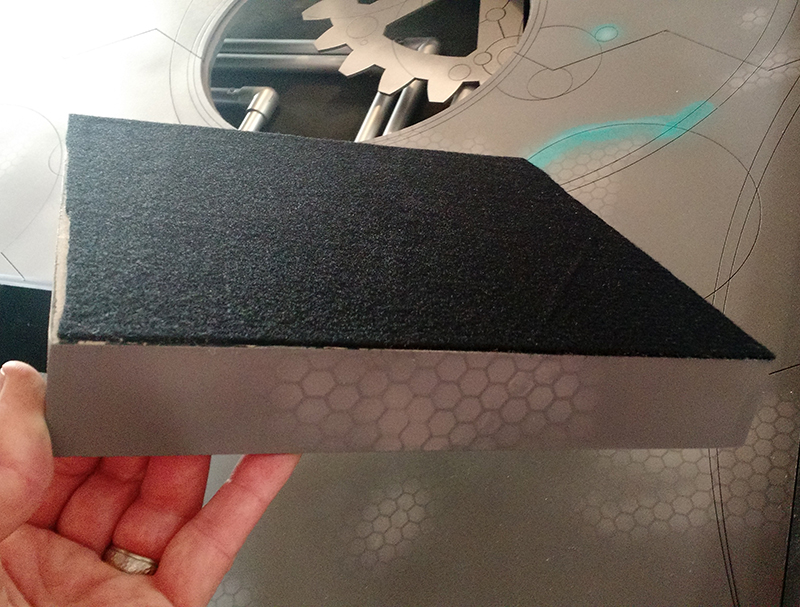
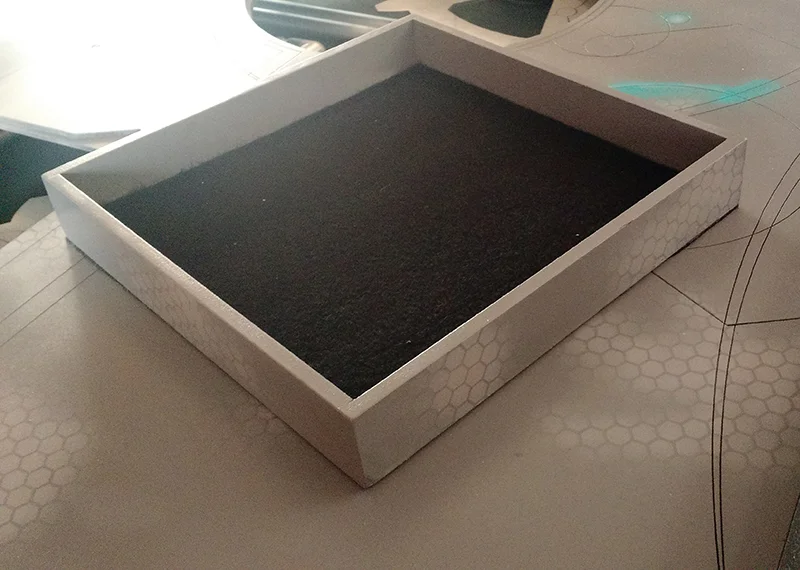
Adding felt to the bottom to help keep it from scratching the table. And felt to the inside to dampen the dice some.
Last batch of parts showed up!
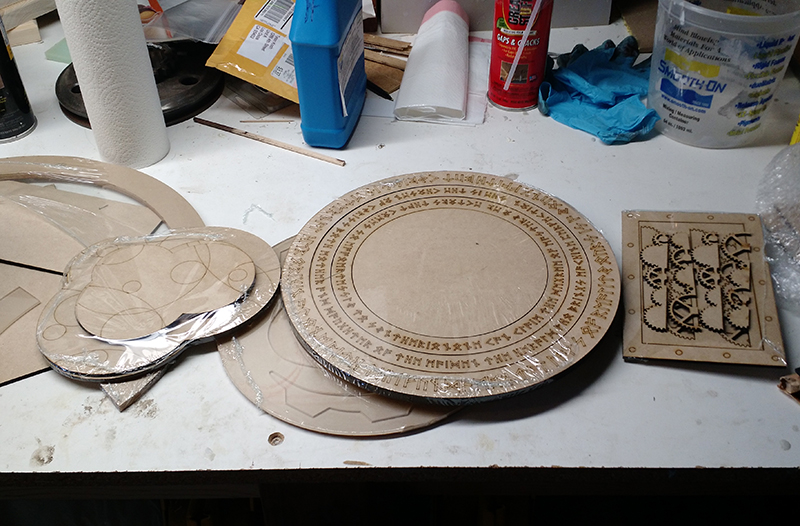
This is kind of what the center piece on the large side board is going to look like. Probably going to add some painted ping-pong ball planets to it too.

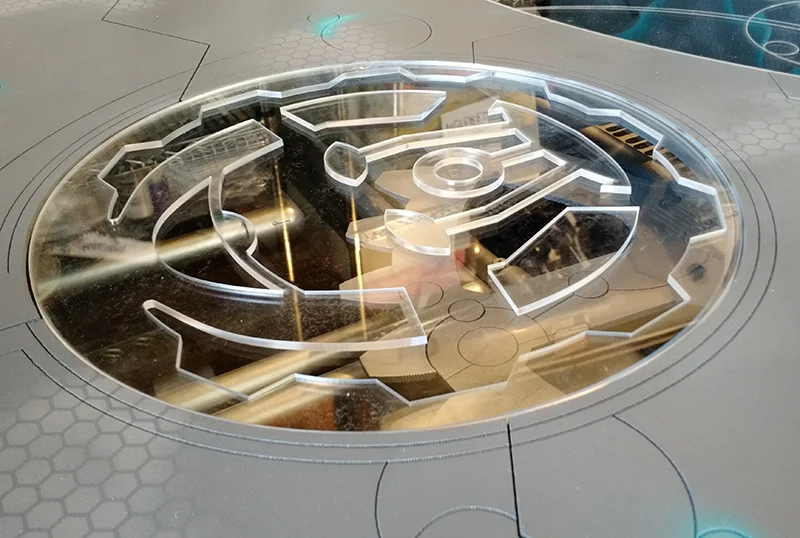
Plexi panels test fit onto the table. I had to sand some of them down to fit. This was more because the wood parts of the table were put together jig-saw like, so the openings for the plexi panels did not match the CAD designs perfectly anymore. Next time I do something like this I am going to try and have the clear panels when I start assembling the table to make sure everything fits.
More test fitting. You can see some of the areas that done quite fit down into the table.
The surrounding plexi parts for the CoC logo face.
Some of the walls for the table. I made some cool resin ones, but I ran out of mold material for them. So these will have to do for now.

Last of the parts painted up
I did not want to go with really tall hills for this table. I figured most models will not have a problem straddling one layer of 1/8" mdf. So I built up 2 staggered layers to be "hills" for the table. I also have a themed trench that I don't have a picture of yet here.
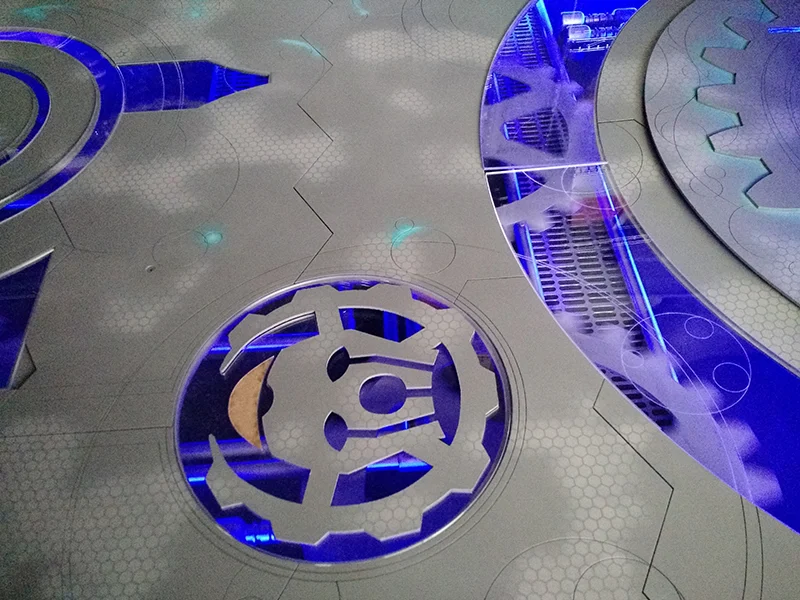
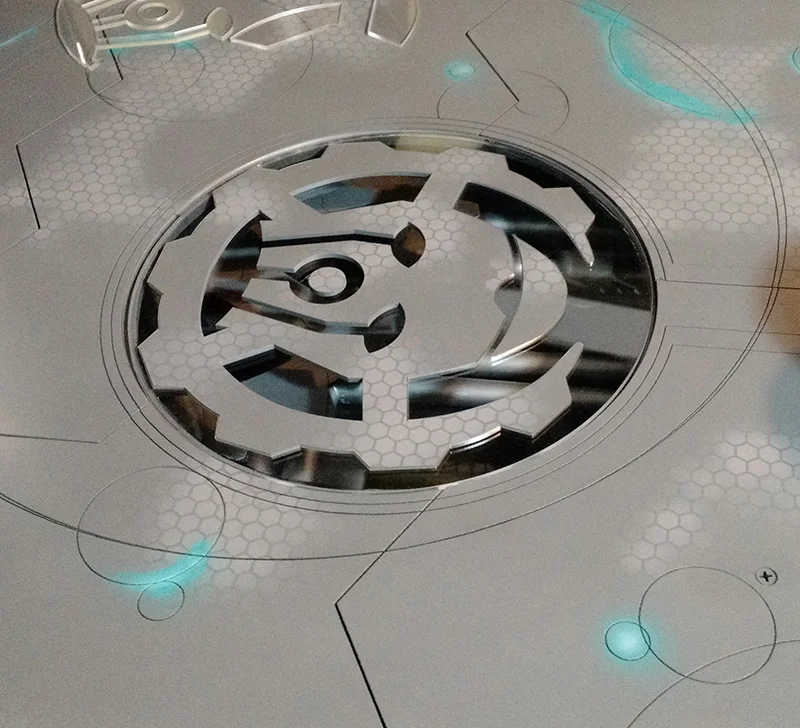
The Convergence logo with in the center'ish of the table.
And the table with the Plexi panels installed and glued. I used a clear no-toxic glue to adhere the panels the the board. If I press hard enough from the bottom they should pop off if I need to work with them later. But this should be strong enough to keep them in place for now. I weighted them down to give the glue a chance to dry. Before they were placed in I put on some gloved (no fingerprints!) and cleaned all the parts will with plexiglass cleaner. I would hate to get everything installed only to find finer prints and streaks on the back side of the plexi.

Now that I have the plexi parts I can get the up rights glued together. The glue I used for this, while nice for other application, it messed up the paint.....
I the future I will use a more gentile clear adhesive.

Uprights glued and clamped to dry. The paper towels were there to protect the paint from the clamps. The rubber on the clamps tends to stick to the paint once they have been there for a little bit.

The next day I took the clamps off and there were problems....
The glue had softened the paint (through the mdf) and the paper towels stuck to the paint, I was not happy.
I peeled the paper towel bits off and then sanded down all the blemishes and texture the paper towels left.
I taped off the plexi and edges so they could get repainted. Some of the areas were still ok so I left them alone.
Next I re-did the hex pattern and the glowing parts.
Peeling off the tape and everything looks mostly ok. There are a few dimples and marks that you can't really see. But I really don't want to re-cut, glue and paint the uprights again.
And installed.
I painted up a bunch of optifex and servitors to decorated the table with and make objectives.
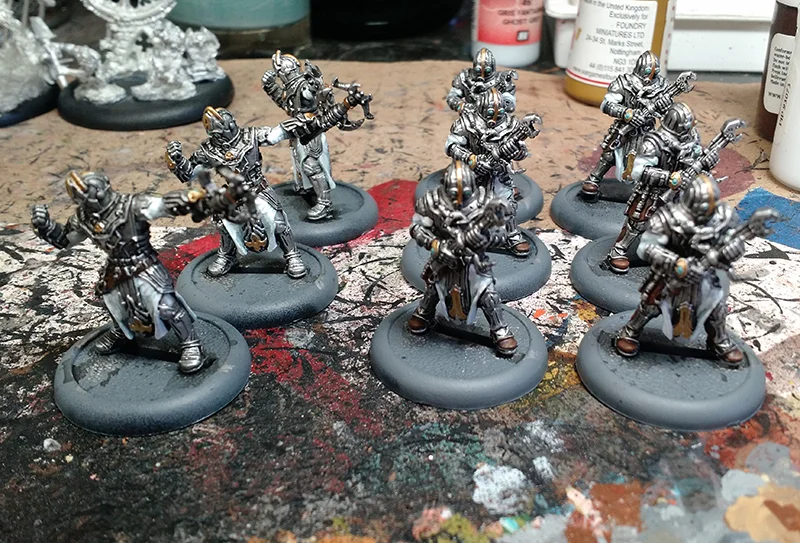
And the objectives and servitors.
This will be going in the center of the large side board.
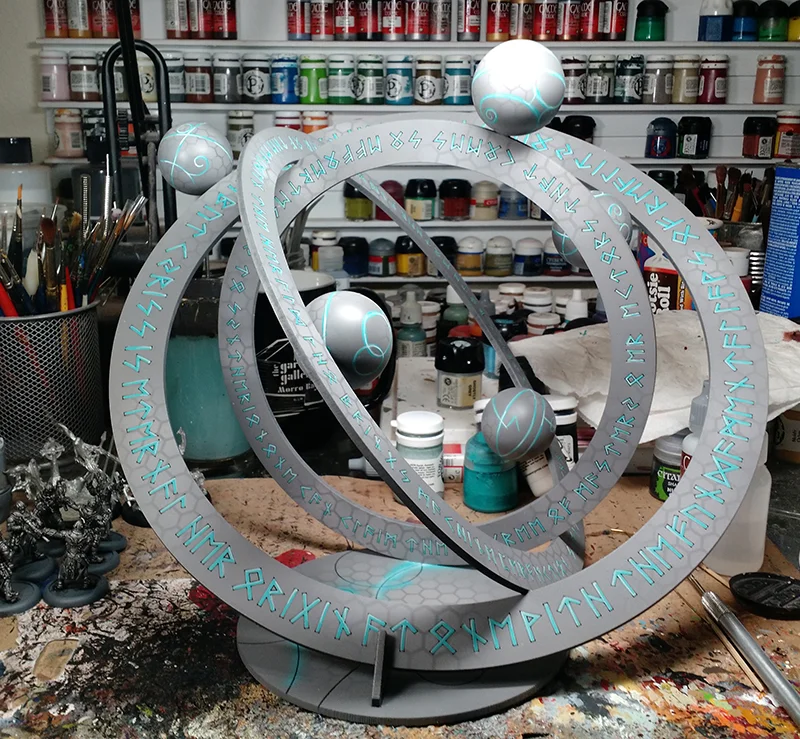
Painted the runes, and used brass pins to attached the circles to each other. The ping pong balls are going to be little planet things interspersed around it. I drilled holes in them and put tooth-picks in them glued to the opposite inside also so they won't flop around.
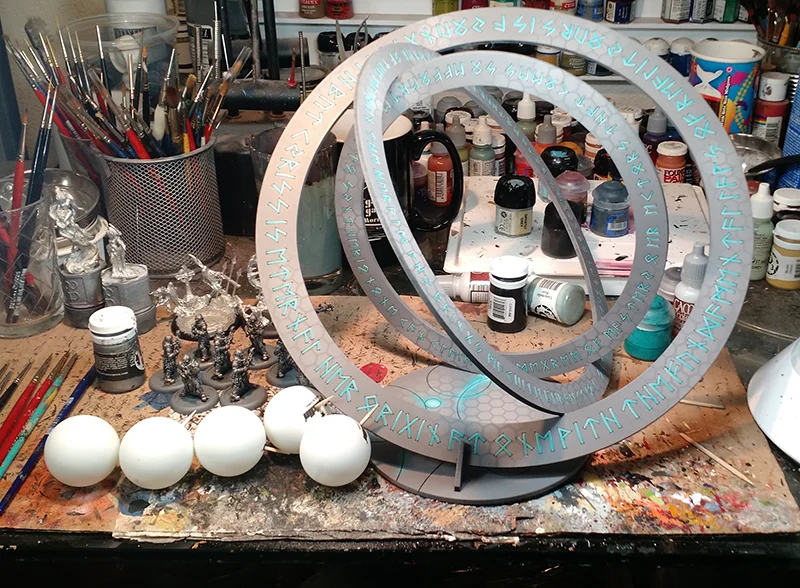
Primed, painted the base table color and then the hex pattern added.
"Planets" installed. I also added some glowing trace work to them to spice them up.
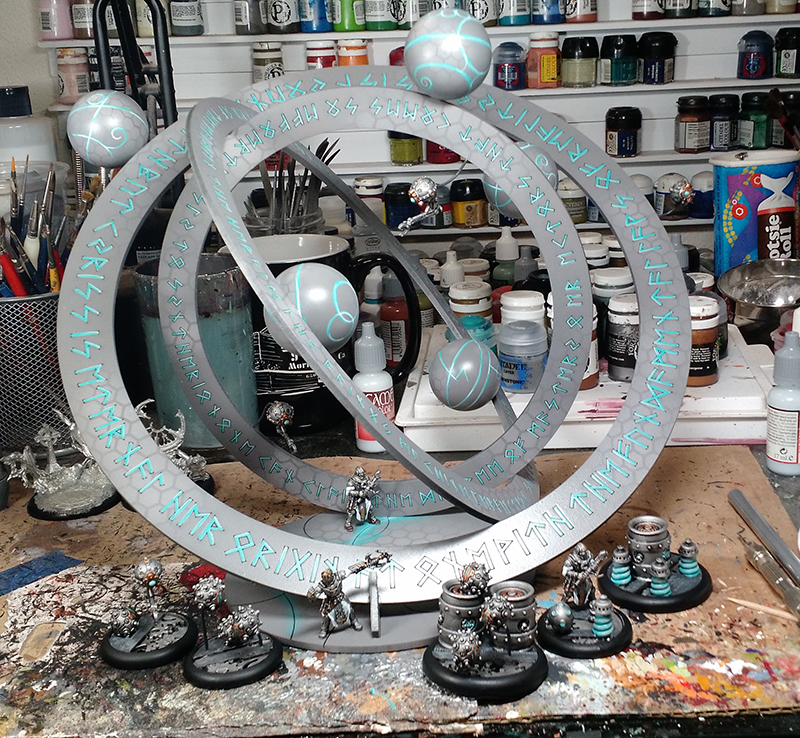
With the Optifex added and some servitors floating around the rings. Also the finished "flags" and objectives for the table.
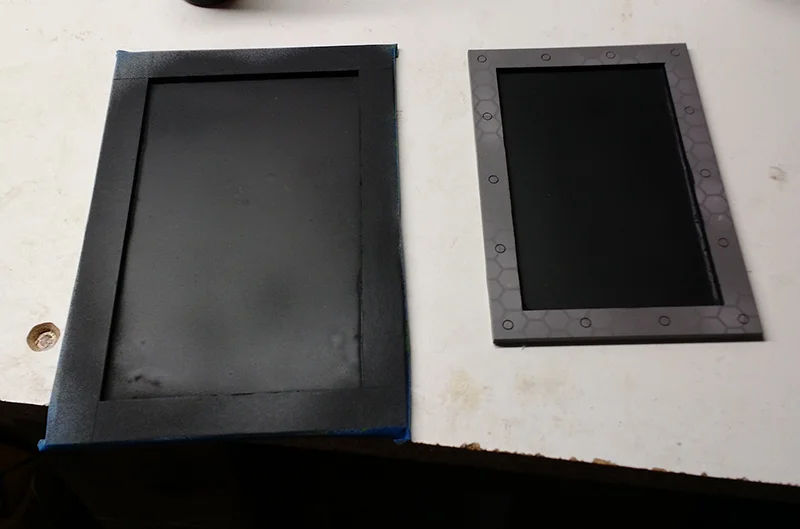
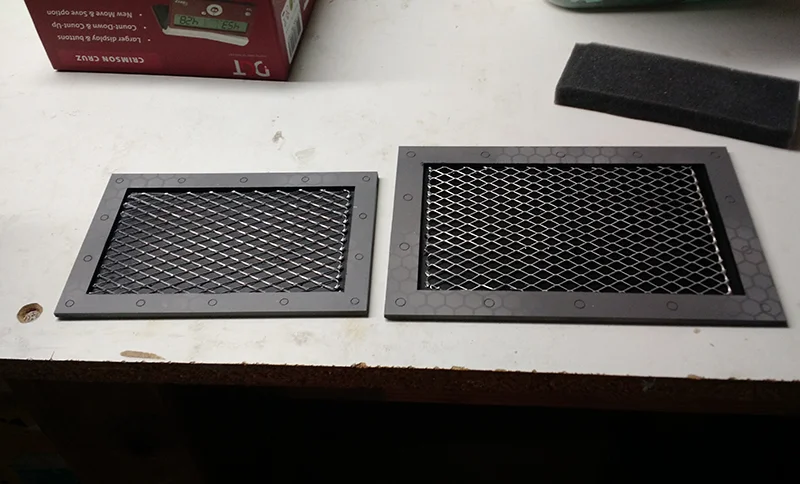
For forests I am making some "steam" vents with removable smoke/steam.
I used some MDF laser'd frames, glued some sheet metal to the back. I wanted to be able to magnetize the smoke to them.

With the masking tape off.
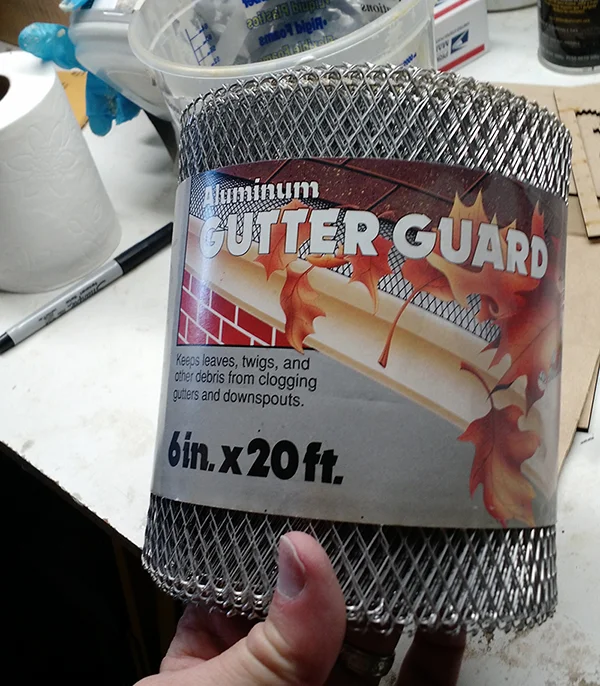
This stuff makes pretty good grating for projects. It is nice and light and easy to work with since it is softer aluminum.
With some cut out, then super glued down.
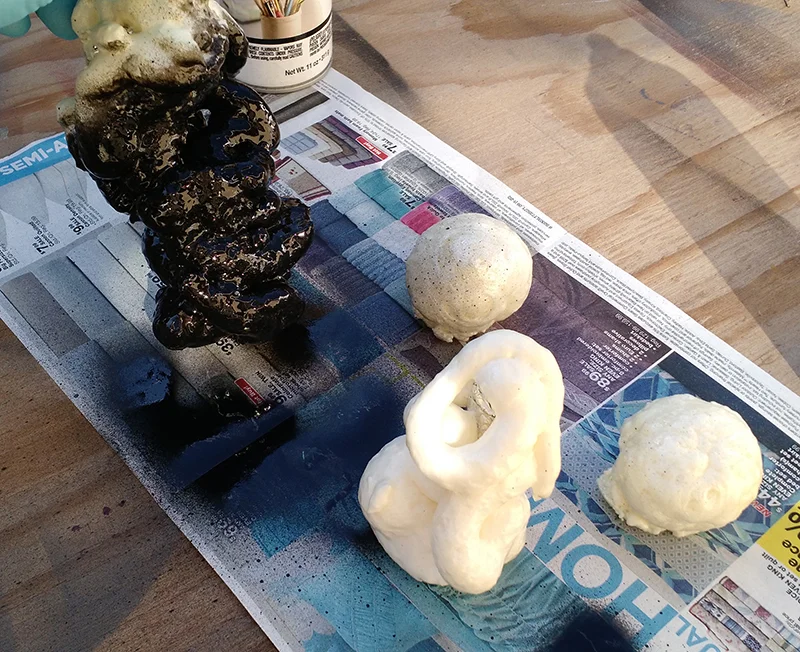
Using expanded foam I made some smoke plumes. They will get painted black, then grey and white from the top. I will probably also add some OSL blue to the bottom of them too.
Now pretty much everything for the table is finished.
Picture of the table with side boards without any terrain on it. Ideally I would have the main power cord coming out of the back side board, but I wanted to be able to just play with the center board without having to care around the side boards. I guess I could have the access hole on the side of the center board then have a pass through on the side board. I will have to see about doing that on the next one.
With the lights on.
I think I want to add a rotating planetary gear grouping behind the eye. That won't be too hard as I set everything up to be disassembled. It will have to wait till after LVO though.
The plexi centers of the vertical supports are not as bright as I had hoped, but without LED's right up against them they wont be. But as least the color match as the table changes colors.

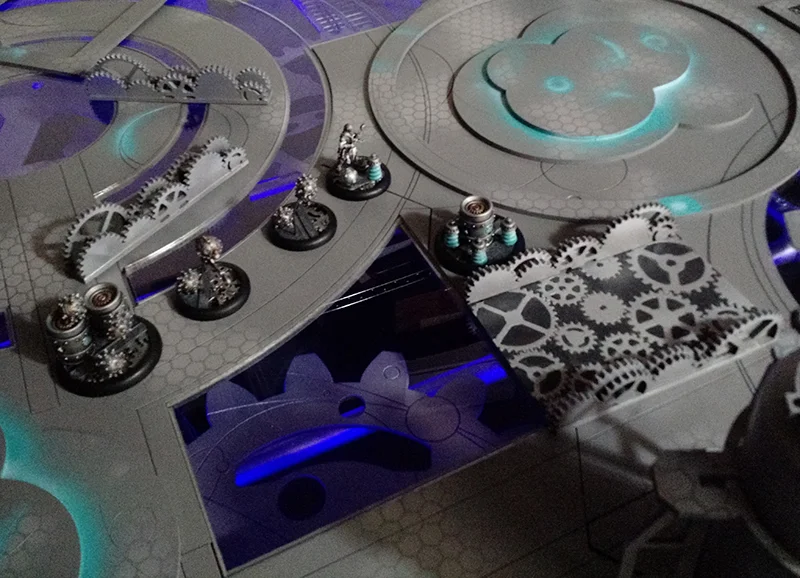
With the terrain on it.
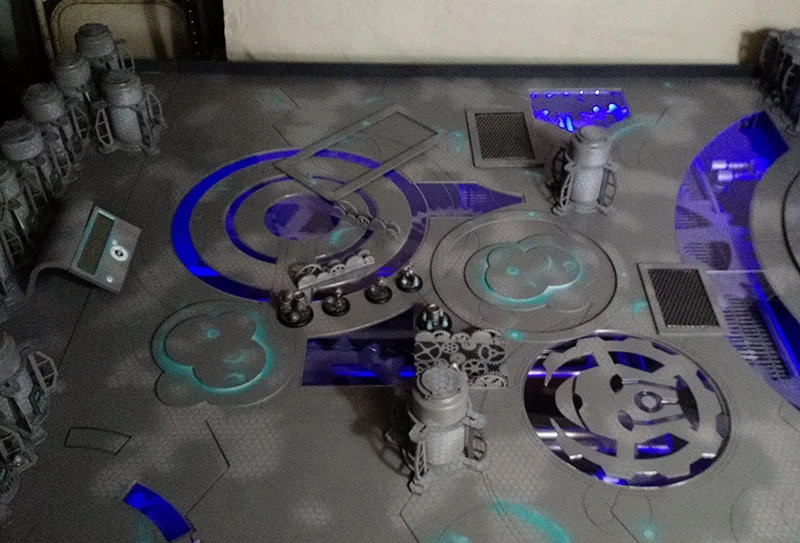
The "trench" has magnetized walls so they come off for easy placement with necessary.