

How to build foam storage trays for miniatures
This is a tutorial on how to make your own storage trays for army transport storage cases.
Depending on the thickness you can make a tray for $3-$5 and you will be able to fit more miniatures in them because you can jigsaw the miniatures in to the most efficient usage of space, instead of staying in the predefined square grid that the army transport trays have.
What you will need:
-Enough sheets of cardboard to make the bottoms for the trays you will want to make.
-Foam in the desired depth of your trays.
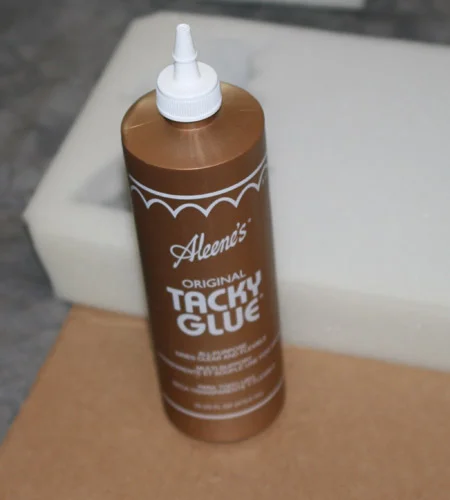
-Tacky Glue
-A long non-serrated knife for cutting the foam
-Scissors or utility knife
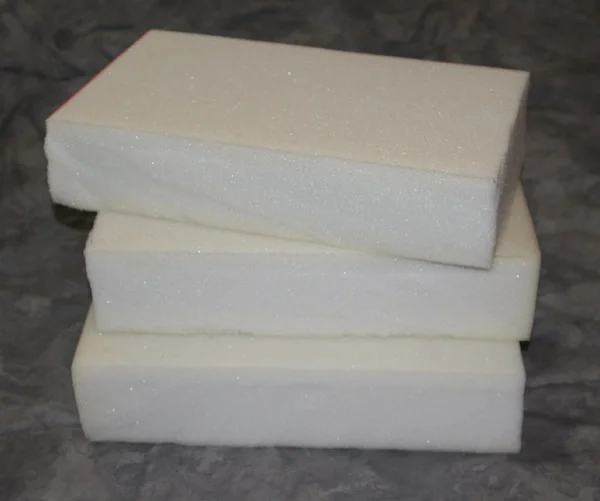
Most fabric supply stores carry large sheets of foam in varying thicknesses 1.5” to 5”
You will need as much as you intend to make trays for. A typical tray size that fits in an army transport is 13” long by 7.5” wide.
Step 1:
If you have army transport trays already you can trace the bottom of on onto a piece of cardboard. Otherwise trace out a rectangle 13”x7.5” and cut it out.
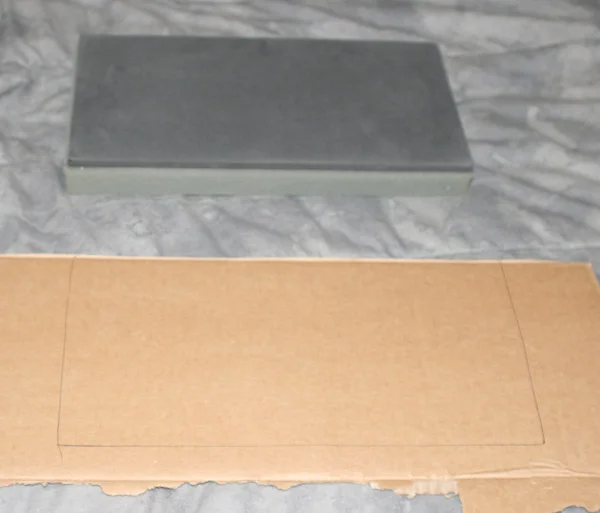
I would recommend clipping the corners to allow for the trays to be moved in and out of the transports easier.

Step 2:
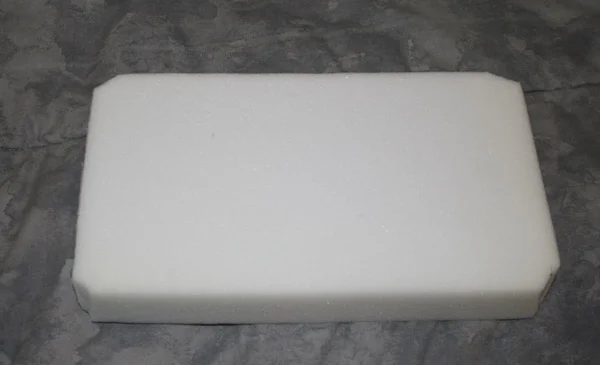
Next, cut out rectangles out of the foam in the same size. Also I would recommend trimming the edges of the foam.
Step 3:
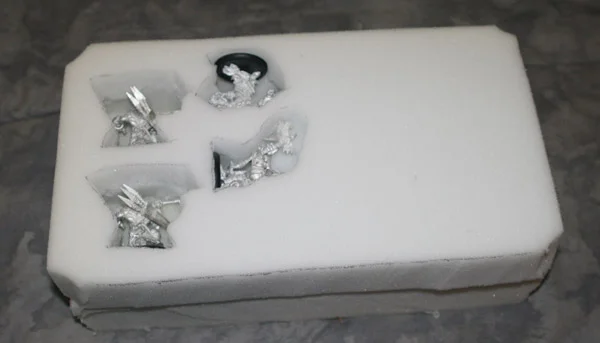
Next you will lay or stand the miniatures on the foam and trace out the outline of figure. If they are standing up you will want to cut all the way through. If they are lying down you will want to leave some foam underneath for protection. If you are cutting through I would recommend once you have the backing glued (see the next step) you label the cardboard in the spaces with the miniature name or number that goes there. If they are units I would number the bottoms of the bases with white paint so you will know where they all gone. It gets confusing once you have 40 or so miniatures out of the trays and you are trying to figure out what goes where…(trust me, I tried!). I even write on the foam with a sharpie now for the ones that I don’t cut all the way through
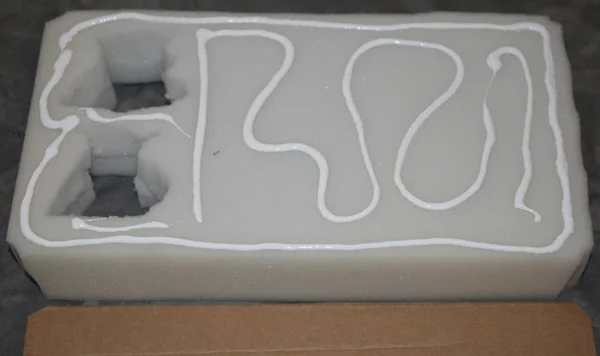
Step 4:
Now, flip your cut foam over and lay down a decent coat of tacky glue. Once you have the glue on, flip it over and lay it on the cardboard you have cut out. I would recommend putting a large heavy book on top of the foam until the glue dries (it will take 3-4 at the shortest).
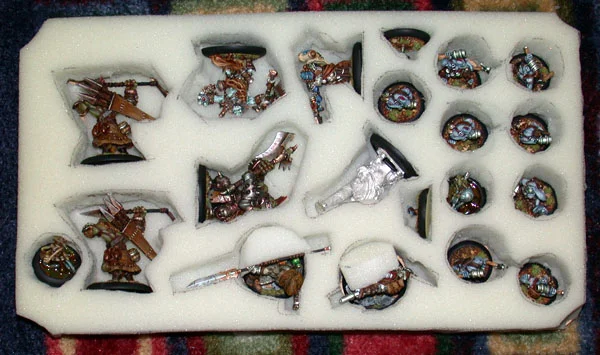
Once your trays are dry go ahead and fill your trays up and get to playing!