
Lighted Warmachine Menoth Vessel of Judgement Battle Engine
I have had lots of requests for how to make the lighted Menoth Battle Engine. I did not take pictures for a full tutorial, but I will post up what I have.
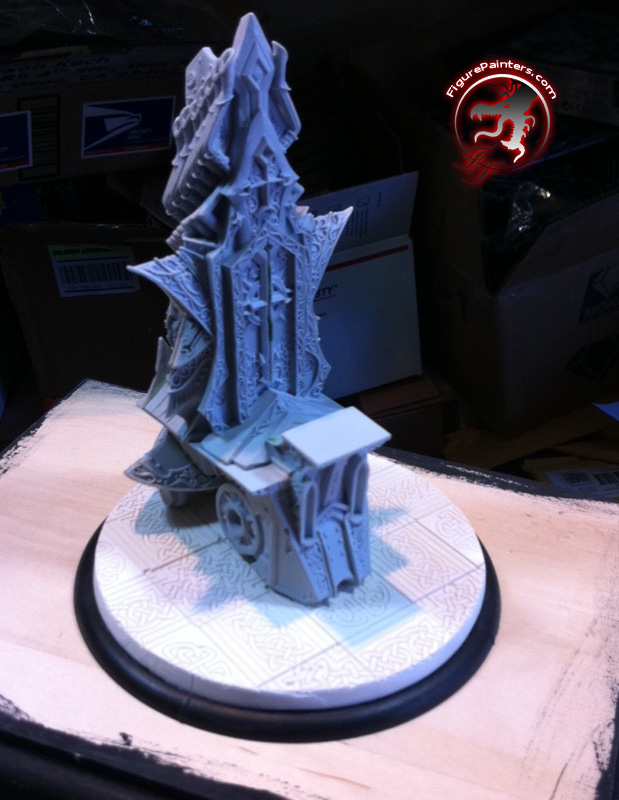
Firstly, I got my hands on the Menoth Vessel of Judgement battle engine. It's a great kit and it makes a great center piece for your army too.
Next up was creating the base. To make the base I cast up some plaster tiles from molds I got at Keebler Studios. I glued them down to a piece of paper, drew a circle the diameter of the inside lip of the base, then dremmeled out the circle.


Once it was fitting properly and glued down I filled all the gaps around the edges.
After that I sculpted the flames using green stuff.
(Figuring out where the battle engine was going to be placed)
(The start of sculpting the flames)

(The finished flames)

When everything was nice and dry it was time to make a silicon mold of the base so I could cast up a clear resin base that I can light up.
The following pictures are of the mold poured and dry. The white on top of the purple mold is a plaster boot. I used it to level the mold as the top was not perfectly flat.


Once I had a mold of the base I wanted, it was time to make a clear one.

And the finished base. I made a few of them figuring that I would need to experiment a little. When I had it planned out where I wanted to put everything and how I wanted to paint it, I would paint up the final one without having to worry about messing it up.


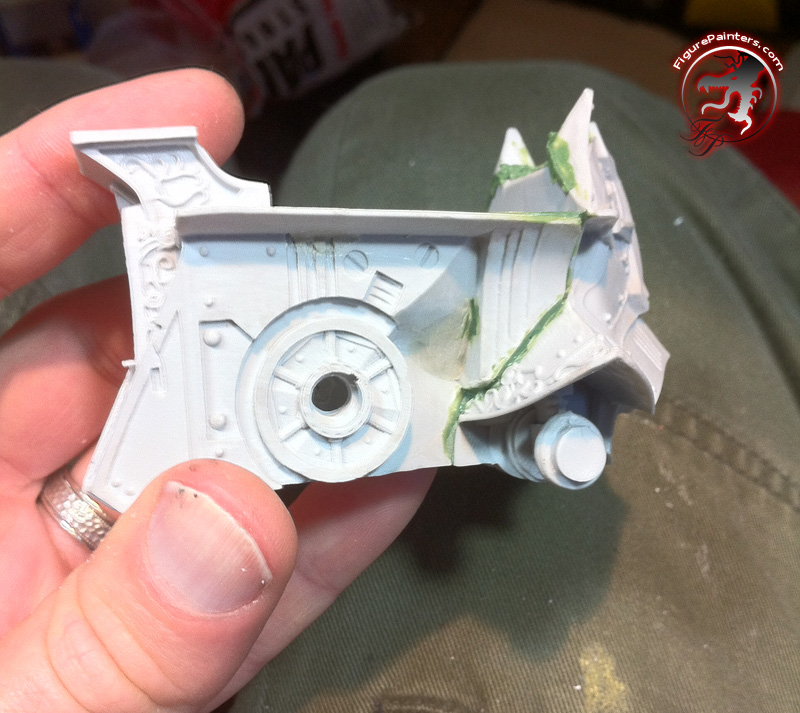
Next step was to hollow out the battle engine itself.
The original plan was to make enough room inside the lower part of the battle engine to have enough room for a 9v battery. Unfortunately, there is just not enough physical space to fit one down there. So I hollowed out as much as I could.


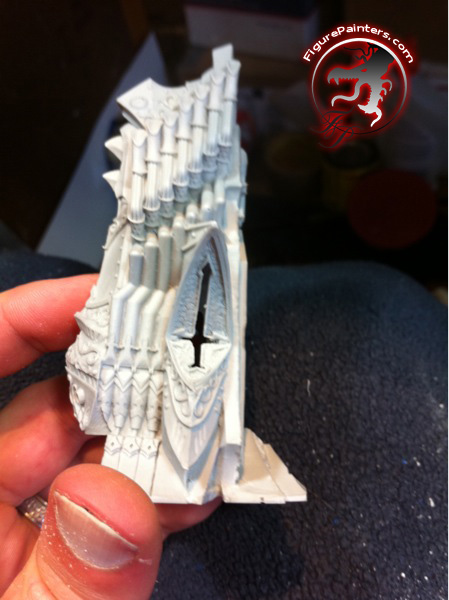
The upper half was a little harder to hollow out. First I drilled out as much as I could from the bottom. After that I had to use a very small dremmel bit and grind out the "windows" on the side until I got the hollowed out center. For the front door I used a dremmel razor saw to cut a fine opening for the door cracking open. You will see pictures of that later as it shows up better once it is lit.
With everything hollowed out it was time to test the LEDs.
I used the LED fire kits from Modeltrainsoftware.com along with some other non-flashing LEDs from them for fill light. These LEDs come with a diode on them so you don't have to worry about putting them on a board to control the flashing.
(Video of the 3 LED kit)
And here is a video of the battle engine lit up from the inside. Some of the light is showing through the sides, but that will be fixed once it gets painted.
Once I had an idea of how bright the LEDs would be I took one of my test bases, drilled some holes for the LEDs under the flames (will show this later on the final base), and lit it up.
At this point it was time I added some color to the sample base. I taped off the flames and primed the rest of the base. Once that was dry I clear coated the flames to act as a primer so the translucent paint that I was going to use would stick to it.
Once I had the basic plan of how I want to pull this off, it was time to finish up the assembly for the Vessel and the final base.
I marked the spots on the final base where I wanted to put LEDs along with the location that I would drill through the base for the wires that would go up into the Vessel.
When I drilled the holes for the LEDs, I looked at the base edgewise to make sure I did not drill too far up into the base. I wanted the LEDs to light up the base without you seeing an LED up in the middle of the flames.
(LED locations)

(Wiring hole location)

The following picture is a out of order from the way I did it, but it would be better to put that step next. You get to benefit from my hindsight. :)
On the bottom of the base I needed channels and a hollowed out area for the wire runs and a place to make up the wiring. This makes a HORRID mess grinding out the resin. Do this outside and use a mask. Resin dust is NOT good for you and gets everywhere.
(You can see the channels in this picture)

The plan to get power to the base/Vessel was to have the wires come up through the wheel and into the Vessel from the side.
(You can also see some of the sculpting and fill work in this picture)


The prep work done, it was time for some paint!
For the final base I did the same as for the test base: taped off the flames and primed it, then some clear coat to "prime" the flames for the translucent paints.
(First coat of paint on the base)

The flames were painted with Tamiya yellow, Tamiya red, and Vallejo Smoke. This way when it is not lit up it still looks good and it adds even more to the fire effect once it is lit.

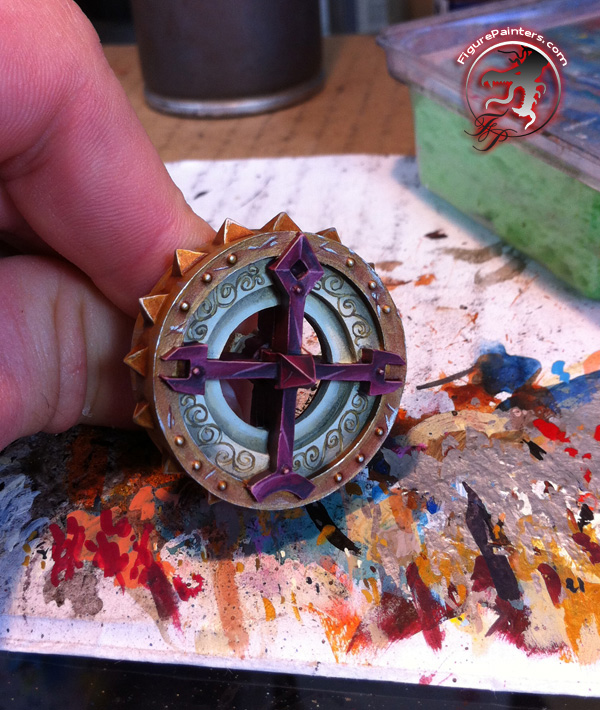
Now on to the Vessel itself. I stuck pretty close to the stock Menoth color scheme as that is what the rest of my army is. I did decide that is needed a little more filigree though....
I attached the Vessel to some old spray paint bottles so I had something a little more substantial to hold onto and to keep me from touching the model as I painted it.

After doing the basic shading I drew on the filigree with a pencil that I would then paint over.


(Starting the gold)

(The shading on the metals is over exposed in these pictures)
(Working on the "red" on the Vessel)

(Working on the Priest and the guy pulling it)


Once everything was all painted, it all got a few layers of clear coat. Most of my stuff gets about 3-4 coats once I am done. I play quite a bit with the models so I want them to last as long as possible before I have to start doing touch ups again. I usually put on 2 coats of matt or gloss clear, then follow up with 2 of Testors Dull coat. The reason for this is the gloss varnishes much tougher than the dull coat. I use the dull coat to bring everything back down to a flat luster.
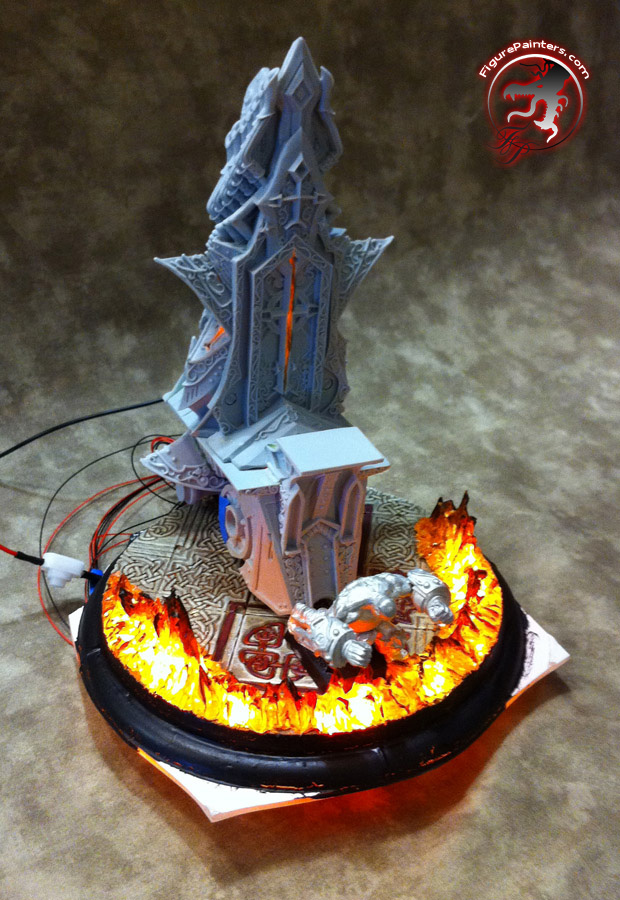
Everything was pretty much finished being painted at this point so it was time to finish the LEDs and wiring.
Here I am test-fitting the LEDs, checking for hole depth, and making sure I liked the light coverage/patterns on the top when lit. At this point the Vessel was not attached to the base. :)

Once I was happy with how it looked I used low temp hot melt gun (if you use a high temp gun you will melt the LEDs and wiring) to seal in the LEDs and trimmed the wires to the lengths they would need to be.

The base done, I wired up the Vessel and glued it to the base. (You can see the Vessel wire coming though the base on the picture above)
The two connectors inside the Vessel are for when it is running off battery power from inside. I also have another pair on the bottom that can be connected to an external power source for when it is on display.

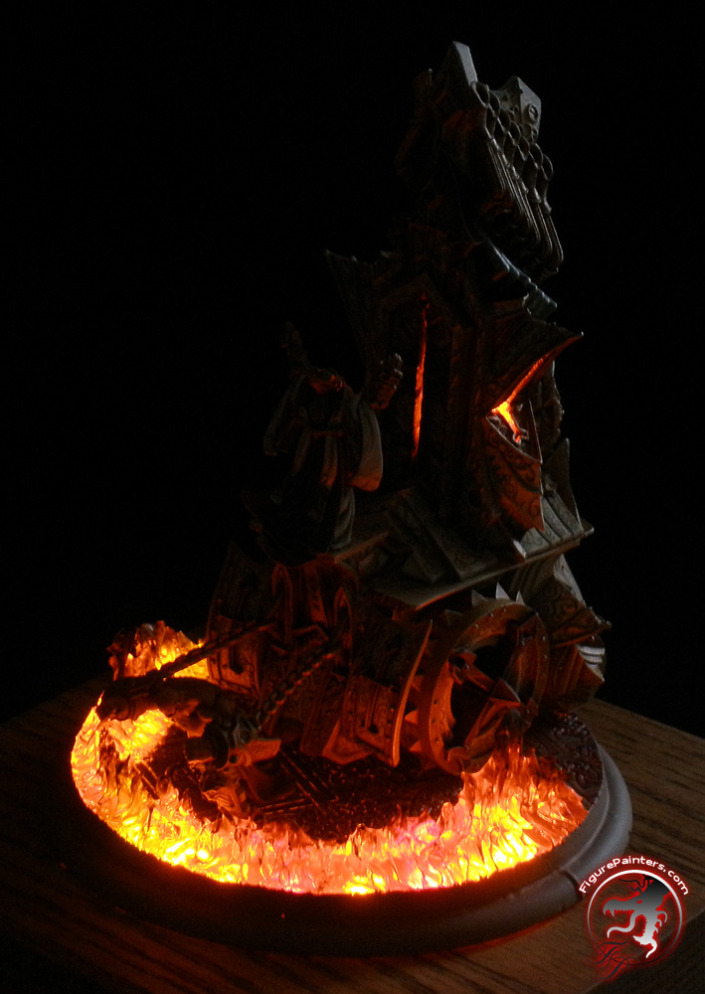
Here it is put together and running off internal power.

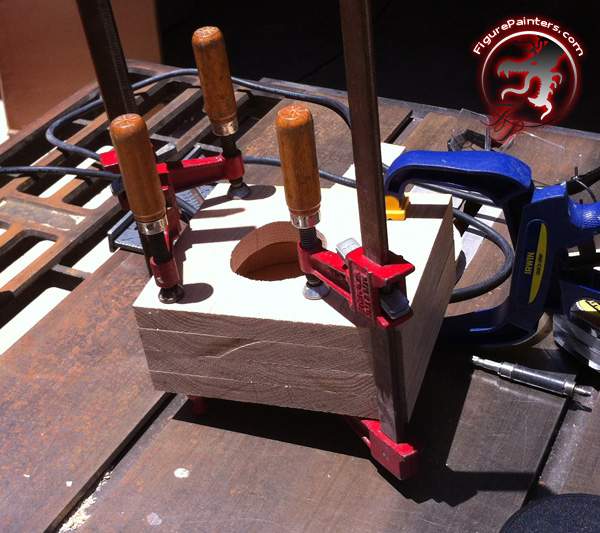
Next up was making a base for it to run off external power with. I could not find a base I wanted on short notice so I ended up making one. It had a switch on the back of it and held 6 C cell batteries, so it had enough power to run the weekend at a Con. in a painting competition display case.
I laminated four pieces of wood together so I could have a hollow inside for the batteries.


Skipping ahead, I sanded it smooth, stained it, and added the front placard.
Finally all finished and ready for display and/or burning the heretics on the battle field!
(You can see more pictures of it in the Menoth galleries too)