
How to make water bases for miniatures
Note: You can purchase these bases at the following link. /store/#!/Shoreline-Bases/c/23175038/offset=0&sort=normal
I have had quite a few questions on how to make the bases for the Guild Ball Fishermen crew I painted. Luckily I took some pictures as I was doing them. Hopefully they are enough to make a decent tutorial out of. At the time I was not thinking of taking pictures at specific stages for a tutorial.
Starting off you need to "hollow" out some bases. To cut the top centers out of the bases I would recommend doing this;
1. Drill a lot of holes around the inside lip of the base.
2. Use clippers to finish cutting out the middle right. Be careful not to snap the outside ring that is left. It will be more fragile now.
3. Use a dremmel or sand paper to smooth out the inside of the ring. Don't be surprised if you snap one or two as you are figuring it out.
Next you need to cut circles out of plexi card that will then be glued onto the bottom of the ring. I used plastic glue to attach them as they are similar types of plastic.
Once the glue is dried I used a dremmel then snadpaper to clean up the plexicard disk to match up with the black ring.
Here is a picture of the bases made before I started painting.

Using cork, putty and textured acrylic gell I added the rocks and the sand to the bases for the models to stand on.
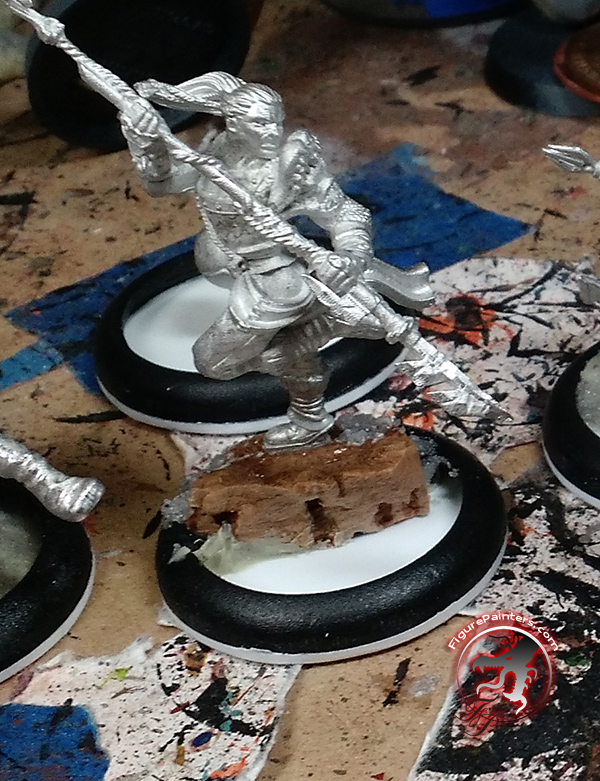
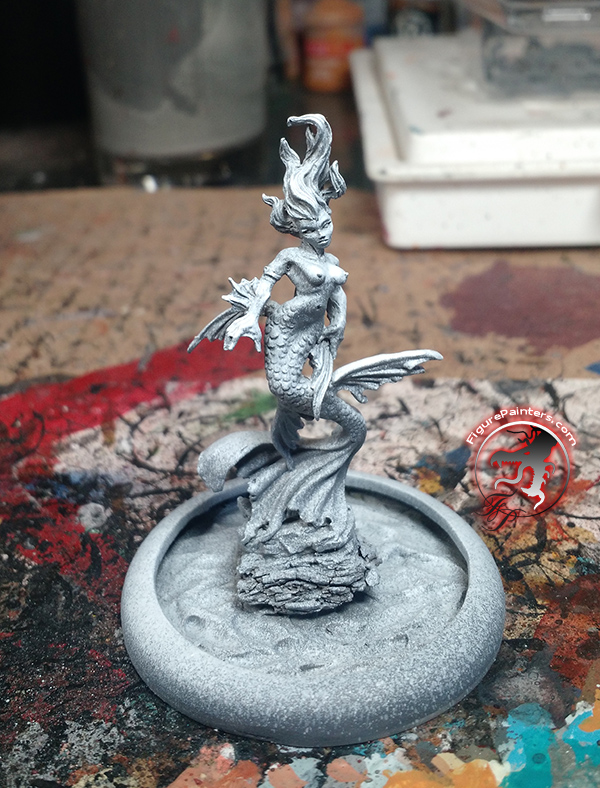
Next up I scuplted the water underbase on the mini. This will give you some water texture to build up over. Or if you wanted to you can just paint with color your water texture look.
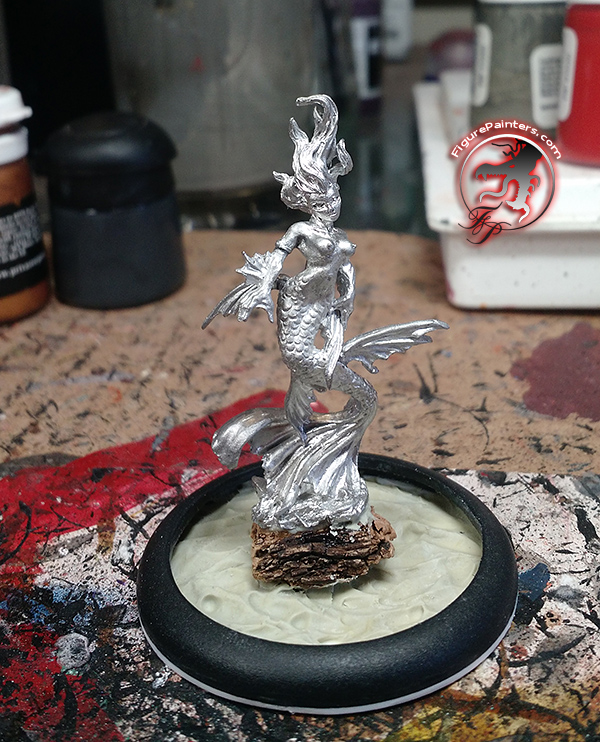
Next prime and paint your model.

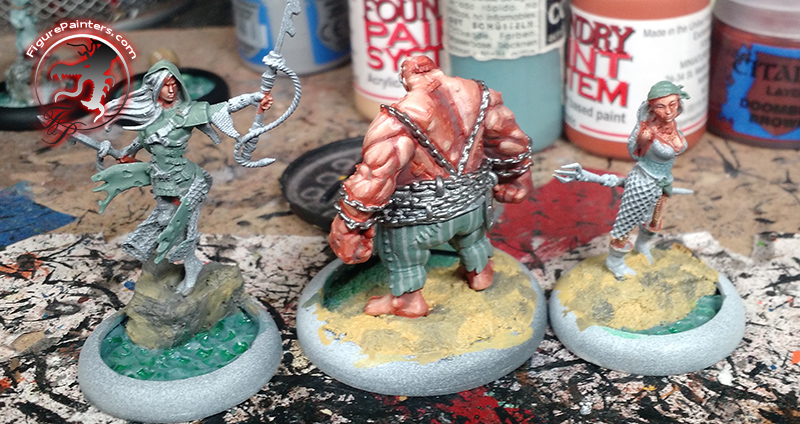
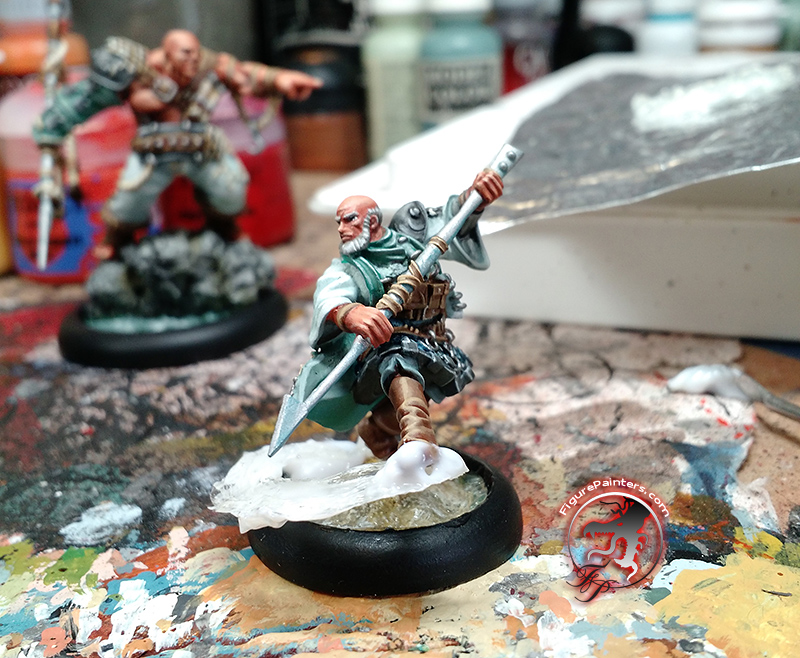
The water was done with a base color, then a green wash, then highlight back with the base blue green color and progressivly mixing in a creamy white.
Now comes the part with the waves/water.
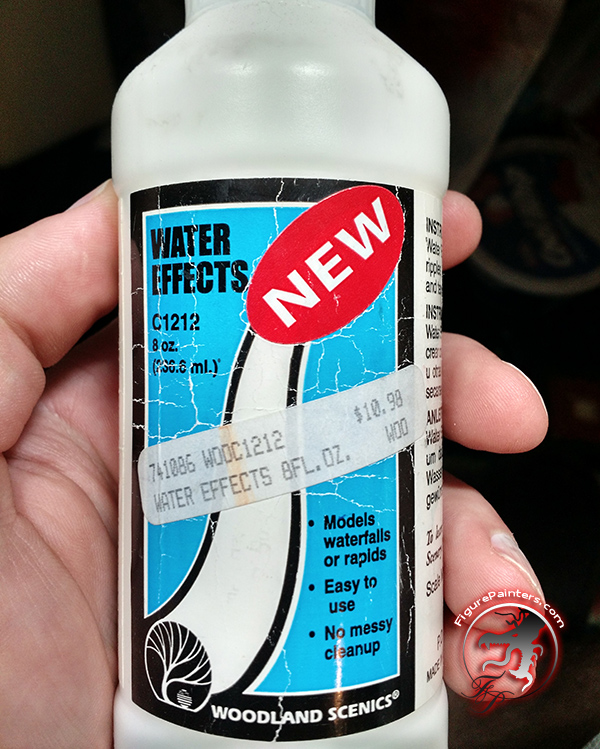
To make the skeleton on the water I used woodlan scenics water effects.
I spread out the past in flat shapes that I would want the waves for the different bases. You can always trim down the the waves to fitthe hight and base shape you want.
This wave below I mixed in some glass beads for a little volume and some bubble shapes.
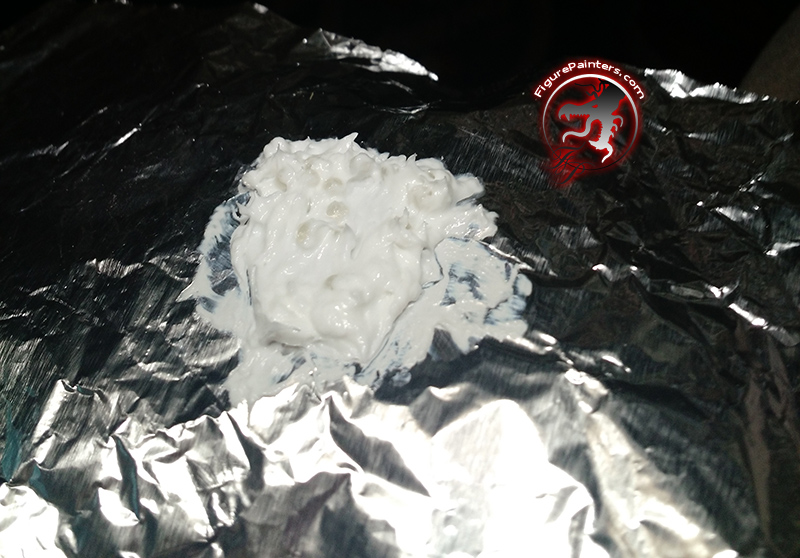
Pic of the waves drying on the tin foil.
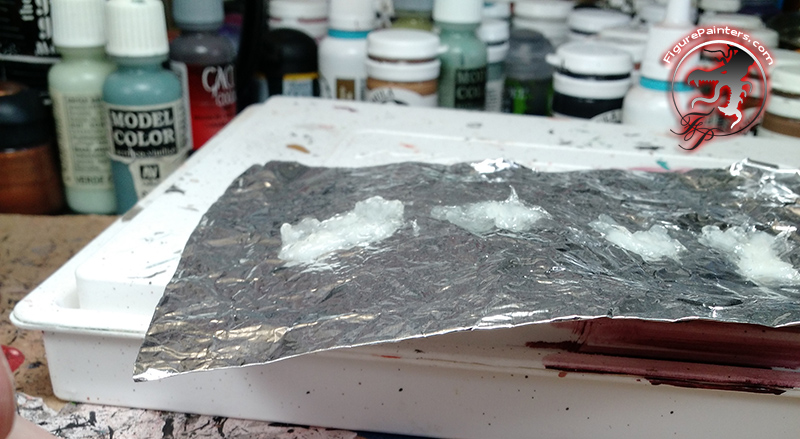
Once these are all cured, about a day or two depending on your humidity. Peel them off and we are going to turn them into waves.
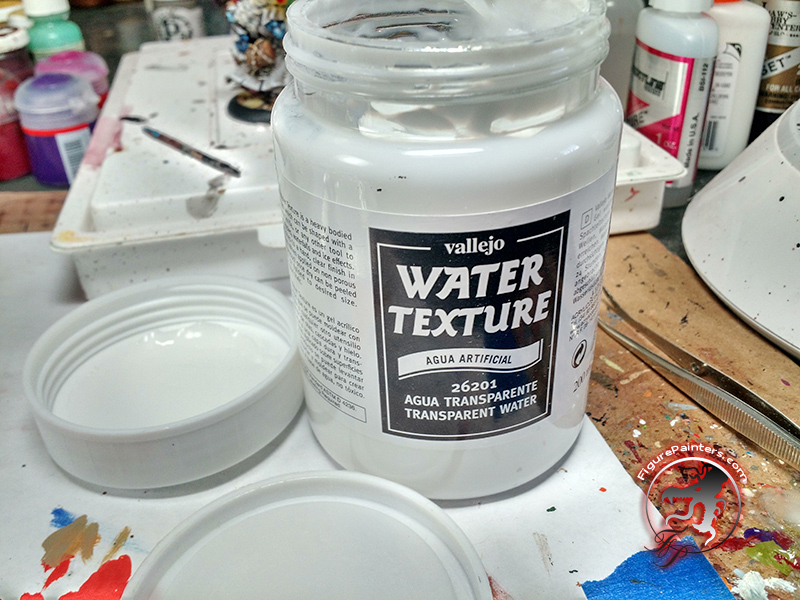
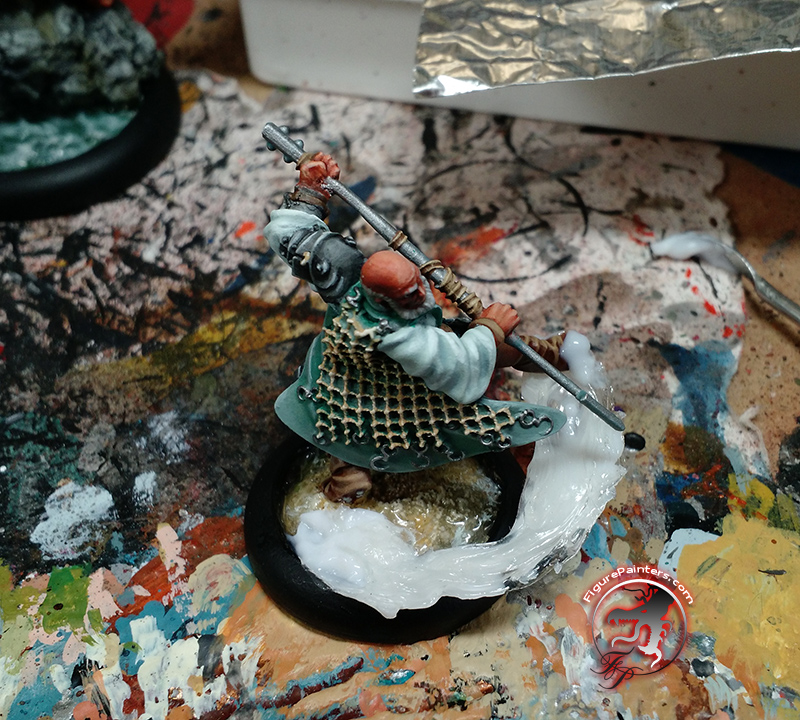
Using Vallejo water texture you mount the wave to the base. Use it like a glue. once it dries (another day or two) it will be nice a sturdy.
Along with attaching your wave, use the Vallejo water texture to make the waves on your base and fill in the water areas as desired. You can also use the water texture to bulk out your waves and add more texture.


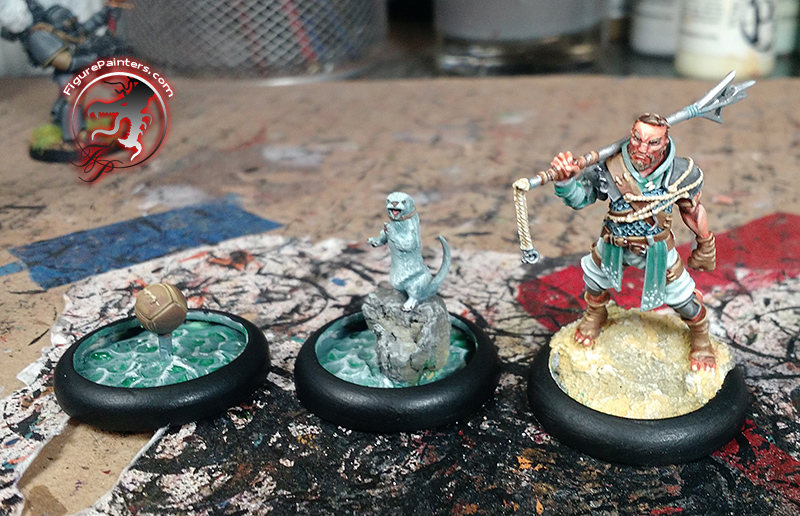
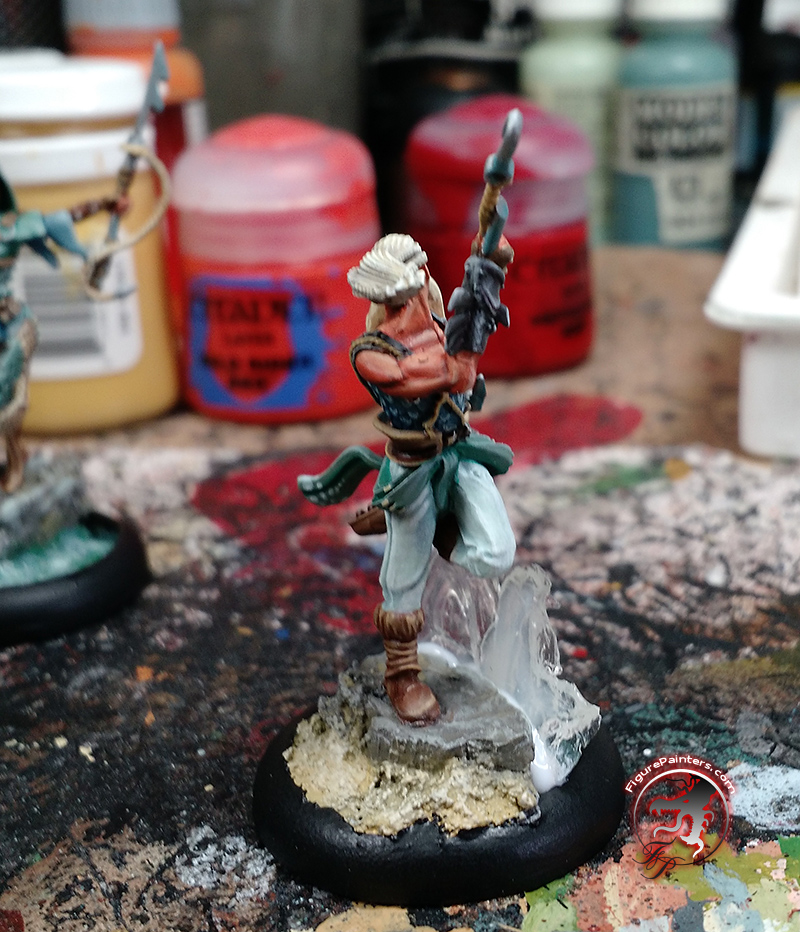
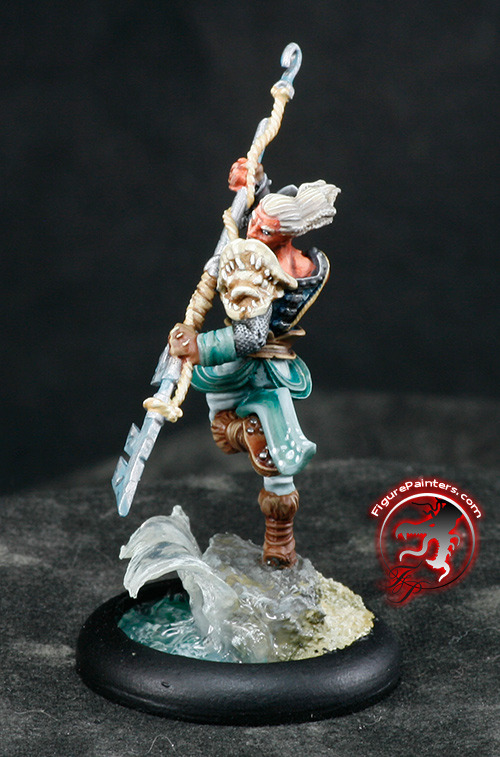
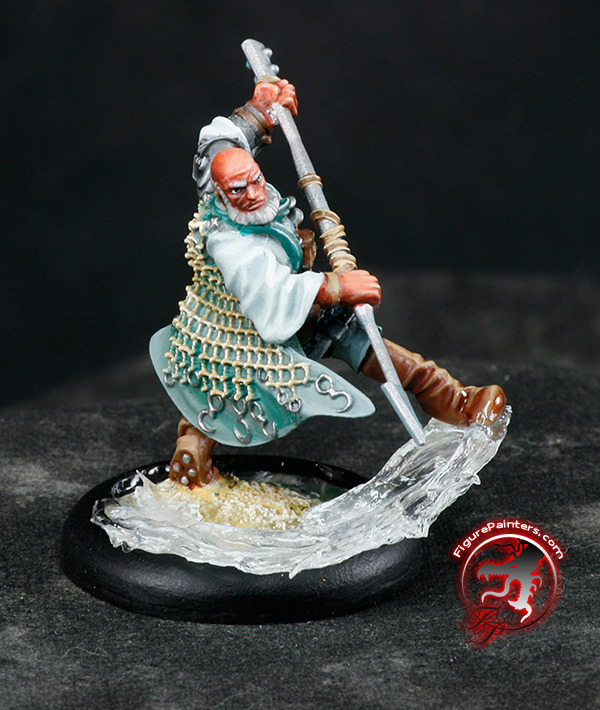
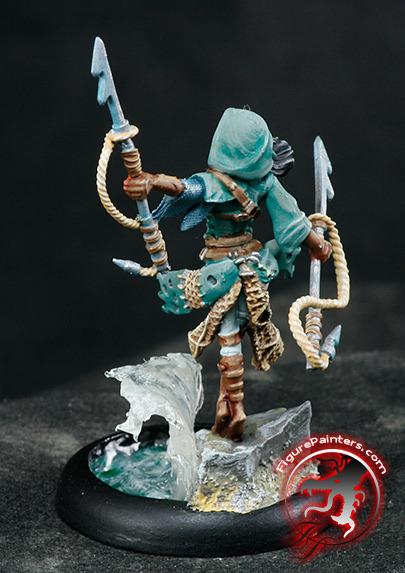
Here is another water base. This time the model is sweeping his foot through the water leaving a trail behind.
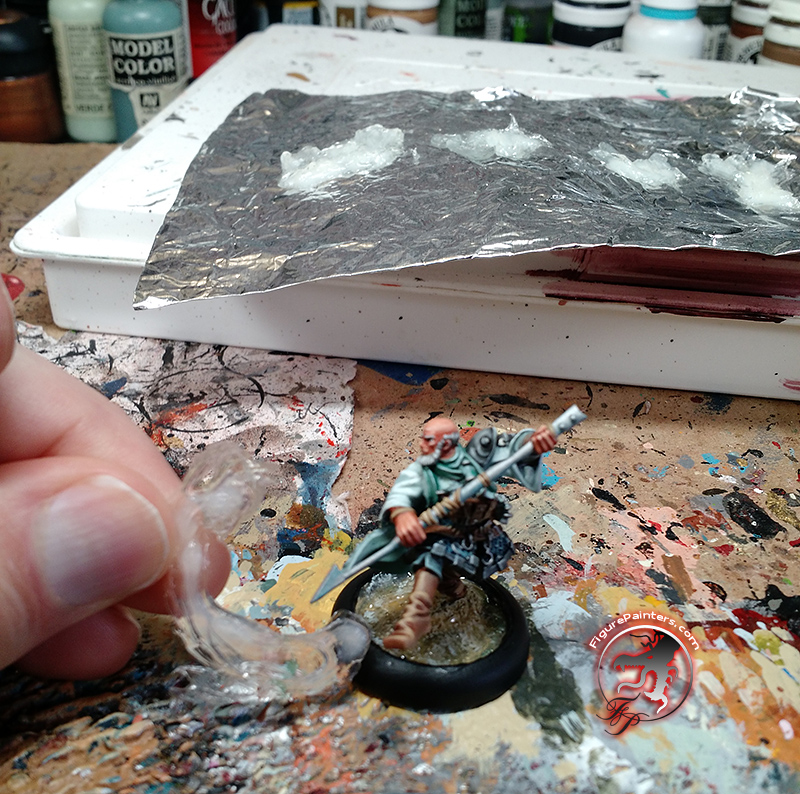
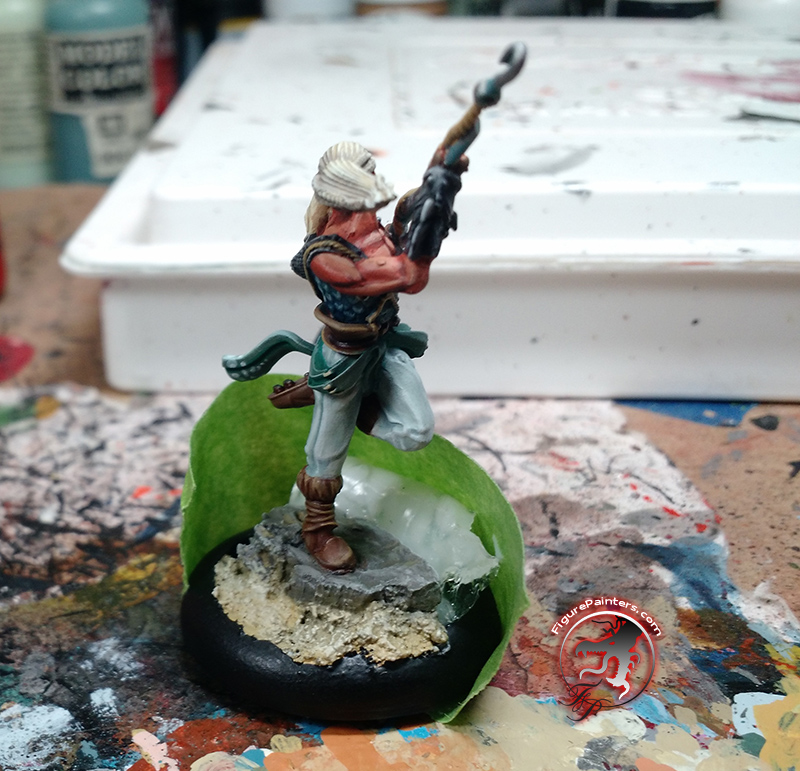
With this model I wanted the wave to curve over at the top. The woodland scenics water wave will be pretty flexible. So once it is attached and cured with the Vallejo gell we are going to bend it over.

Now that it is dried and stuck to the base I put a bunch of the Vallejo gell around the top of the wave, folded it over into a wave shape, then taped it off to give it enough time to dry. Once the gel dries it will keep its' wave shape. Once that is all dry you can use the Vallejo gell to keep building out the wave to how you like it. Also as you are building up the wave you can use white and cream colors to add "froth" coloring to your waves and the water on the base.
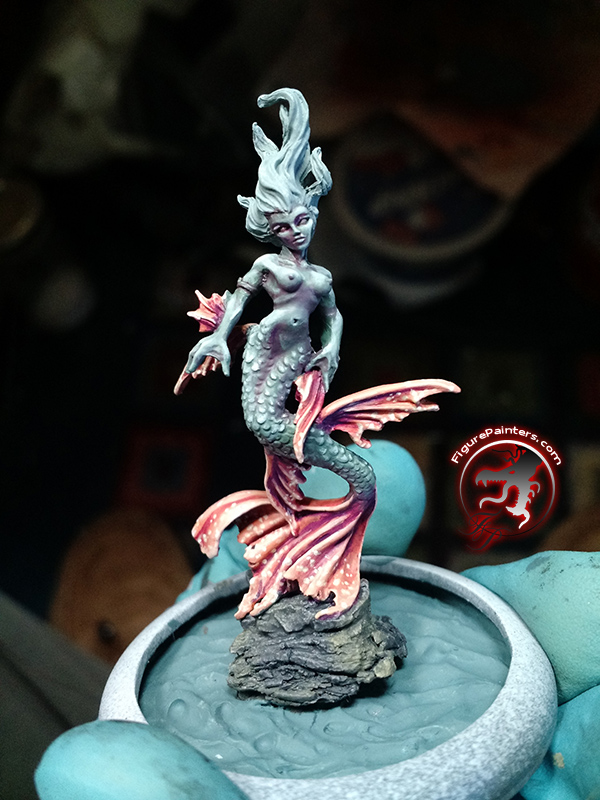
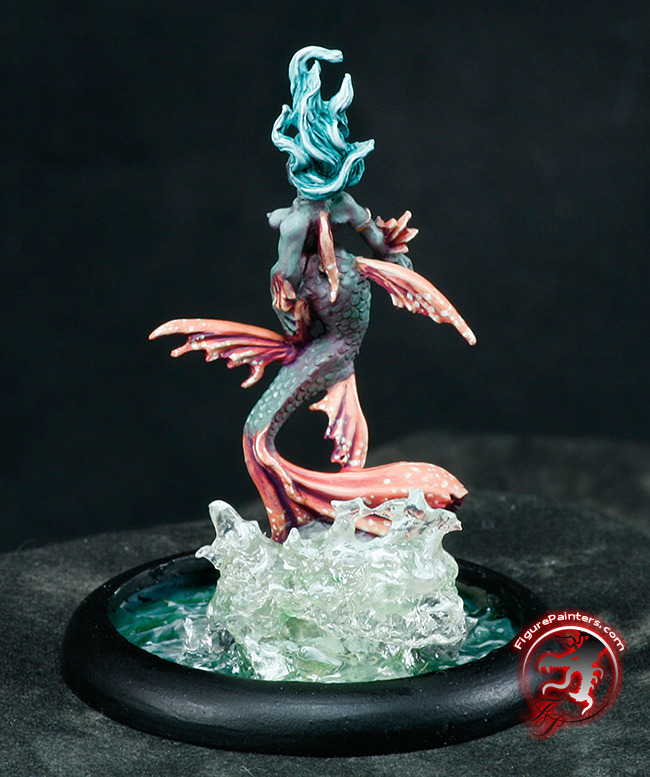
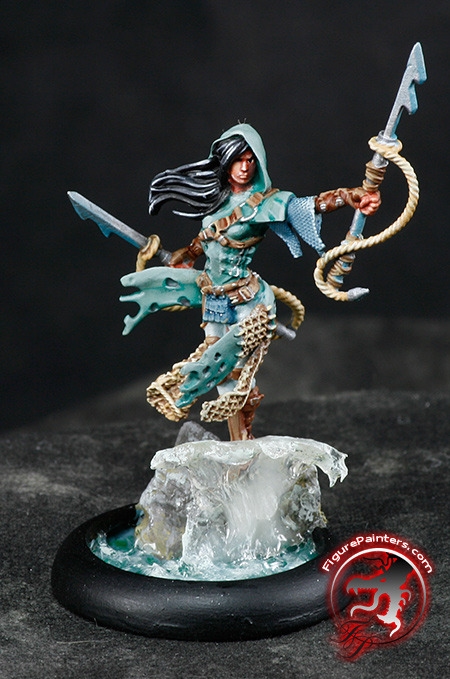
And a few more of the finish models. You can also the see the Guild Ball Fishermen gallery here.


At some point I am probably going to make resin bases like this (sans water) and I will post up once they are ready.